
How to import contacts from a .csv file?

Importing contacts from .csv files is used to add and manage all your required contacts in one place. You can also add custom properties to the contacts to target the right audience and make the contact lists manageable and easily accessible.
To start this process, kindly make sure that your file contains an email ID for every contact for a successful import without any unnecessary spaces in the fields.
Steps for importing:
1. In the Contacts page from your survey dashboard, click on ‘Add contacts’.
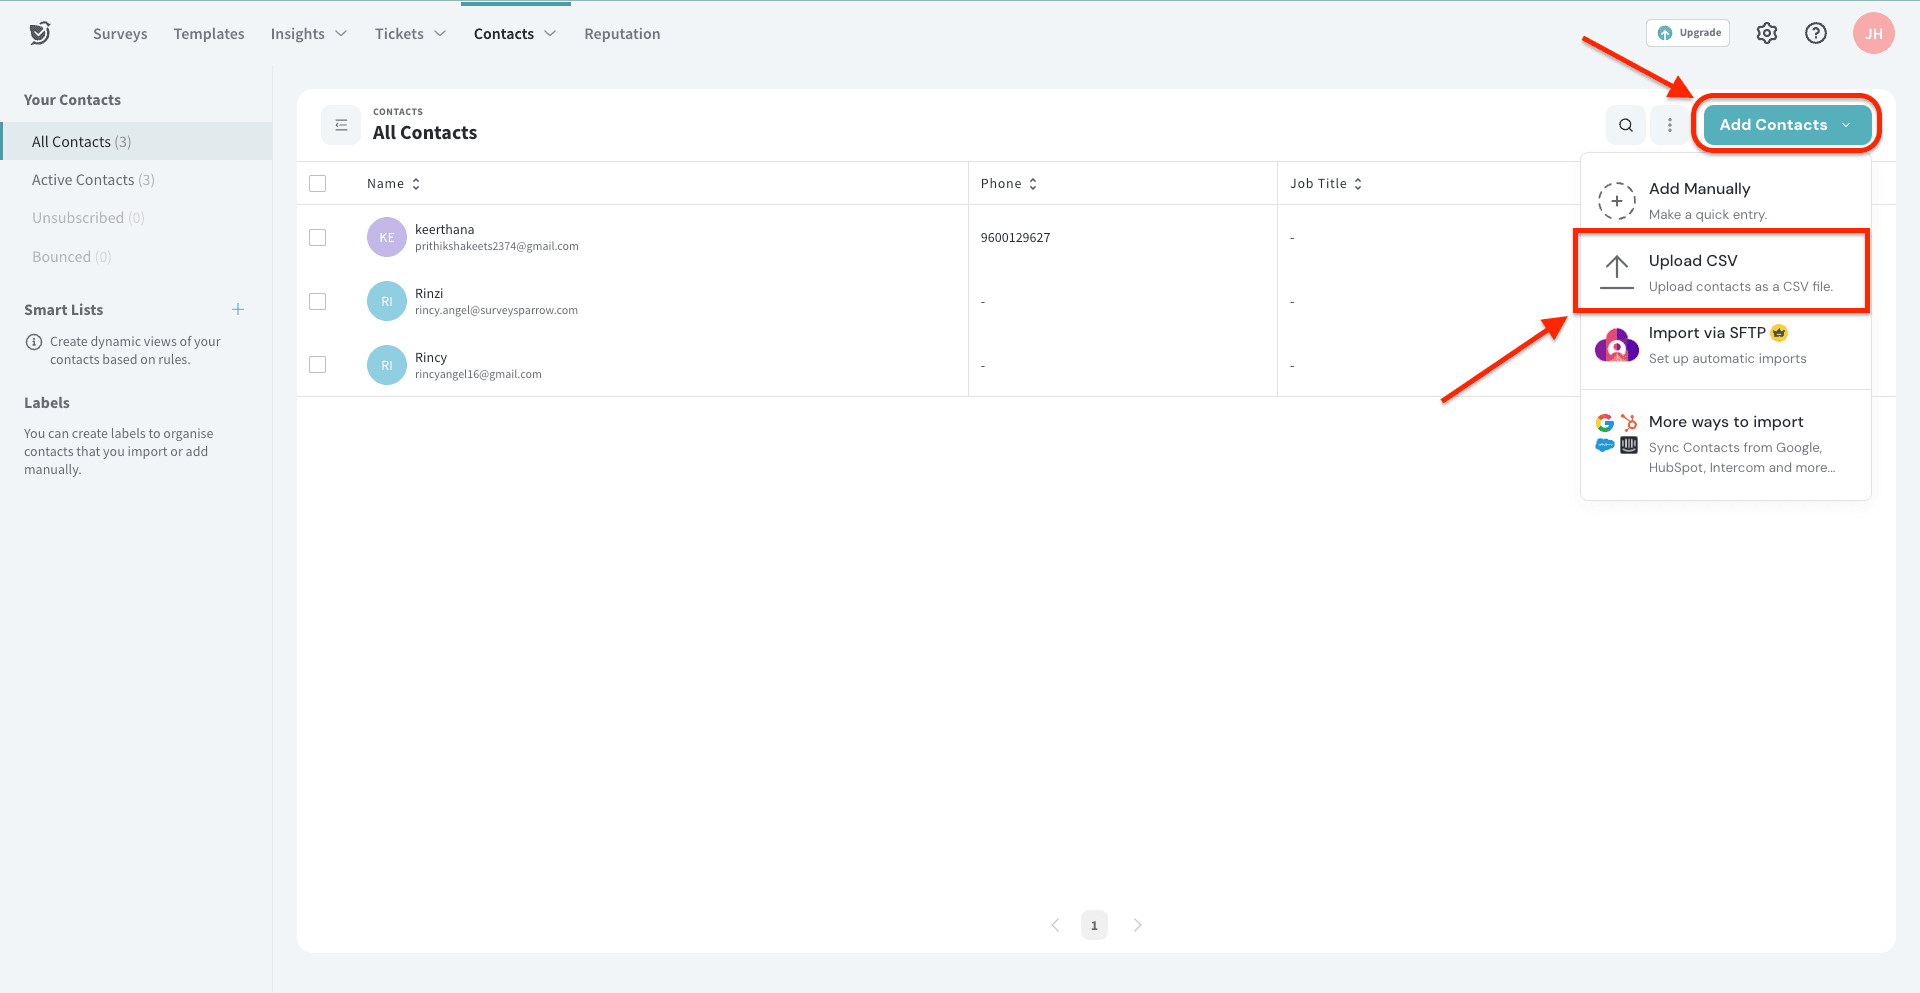
2. As a first step, you can drag and drop the .csv file, or you can choose the .csv file from the list of files that you got it ready already. 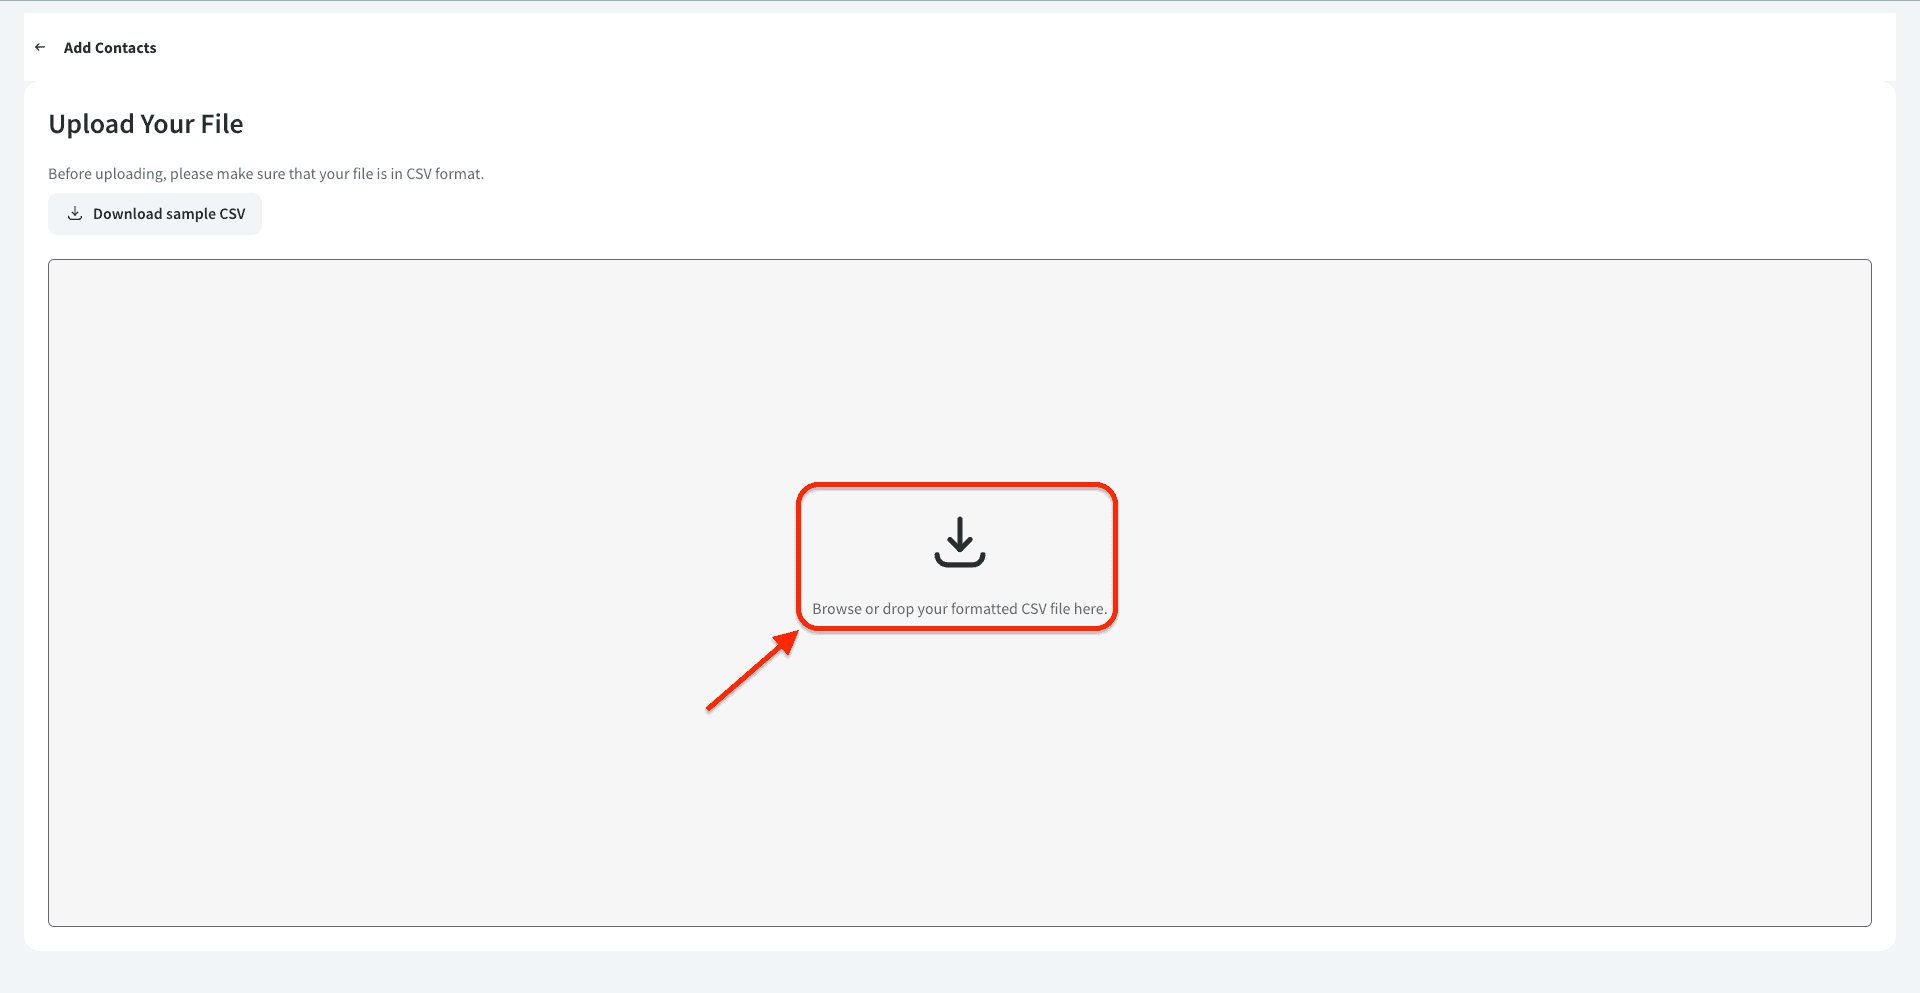
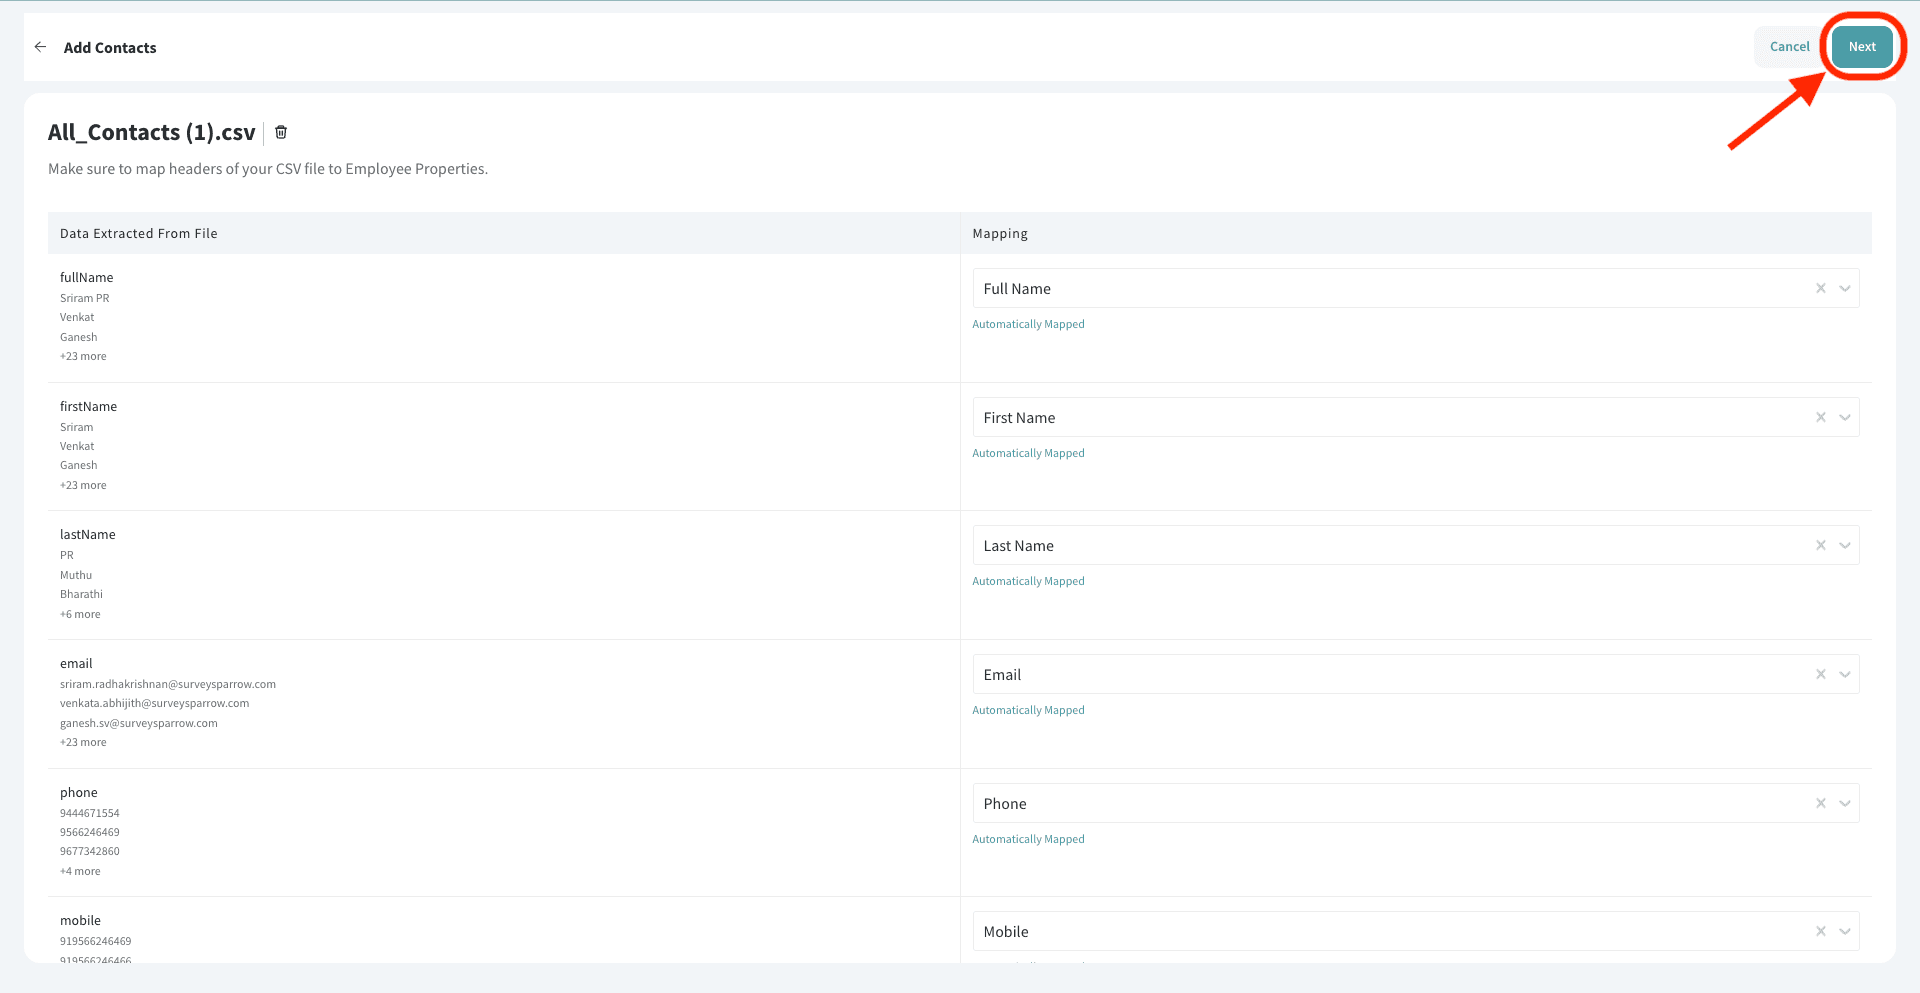
3. Here, as a second step, you can map your contact details appropriately. The fields will be
auto-mapped. If not, you can also map the properties manually by matching the fields. And now we are completing the second step by clicking on the ‘Next’ button.
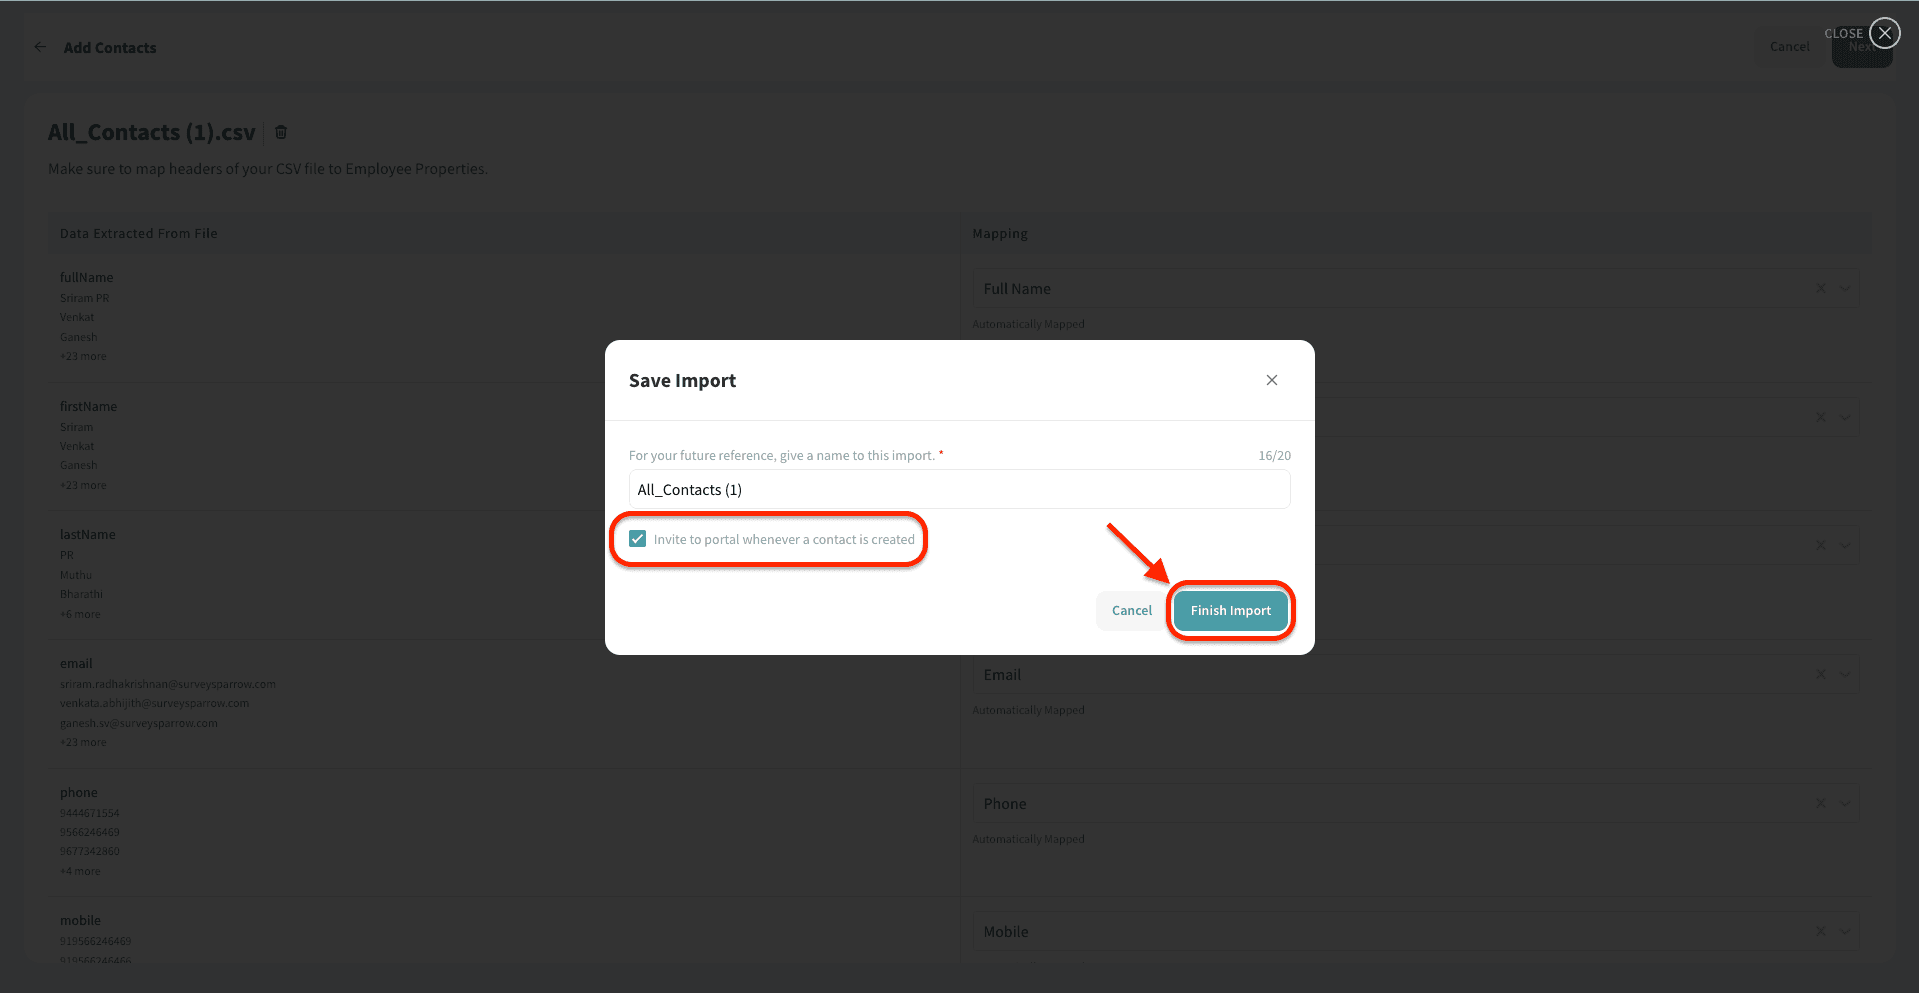
6. Here we are on the final step of this easy process! You can name the newly created list for future reference. This may be helpful to you when you are doing many imports, and it will be easy for you to track for future purposes. Proceed by clicking ‘Finish import’.
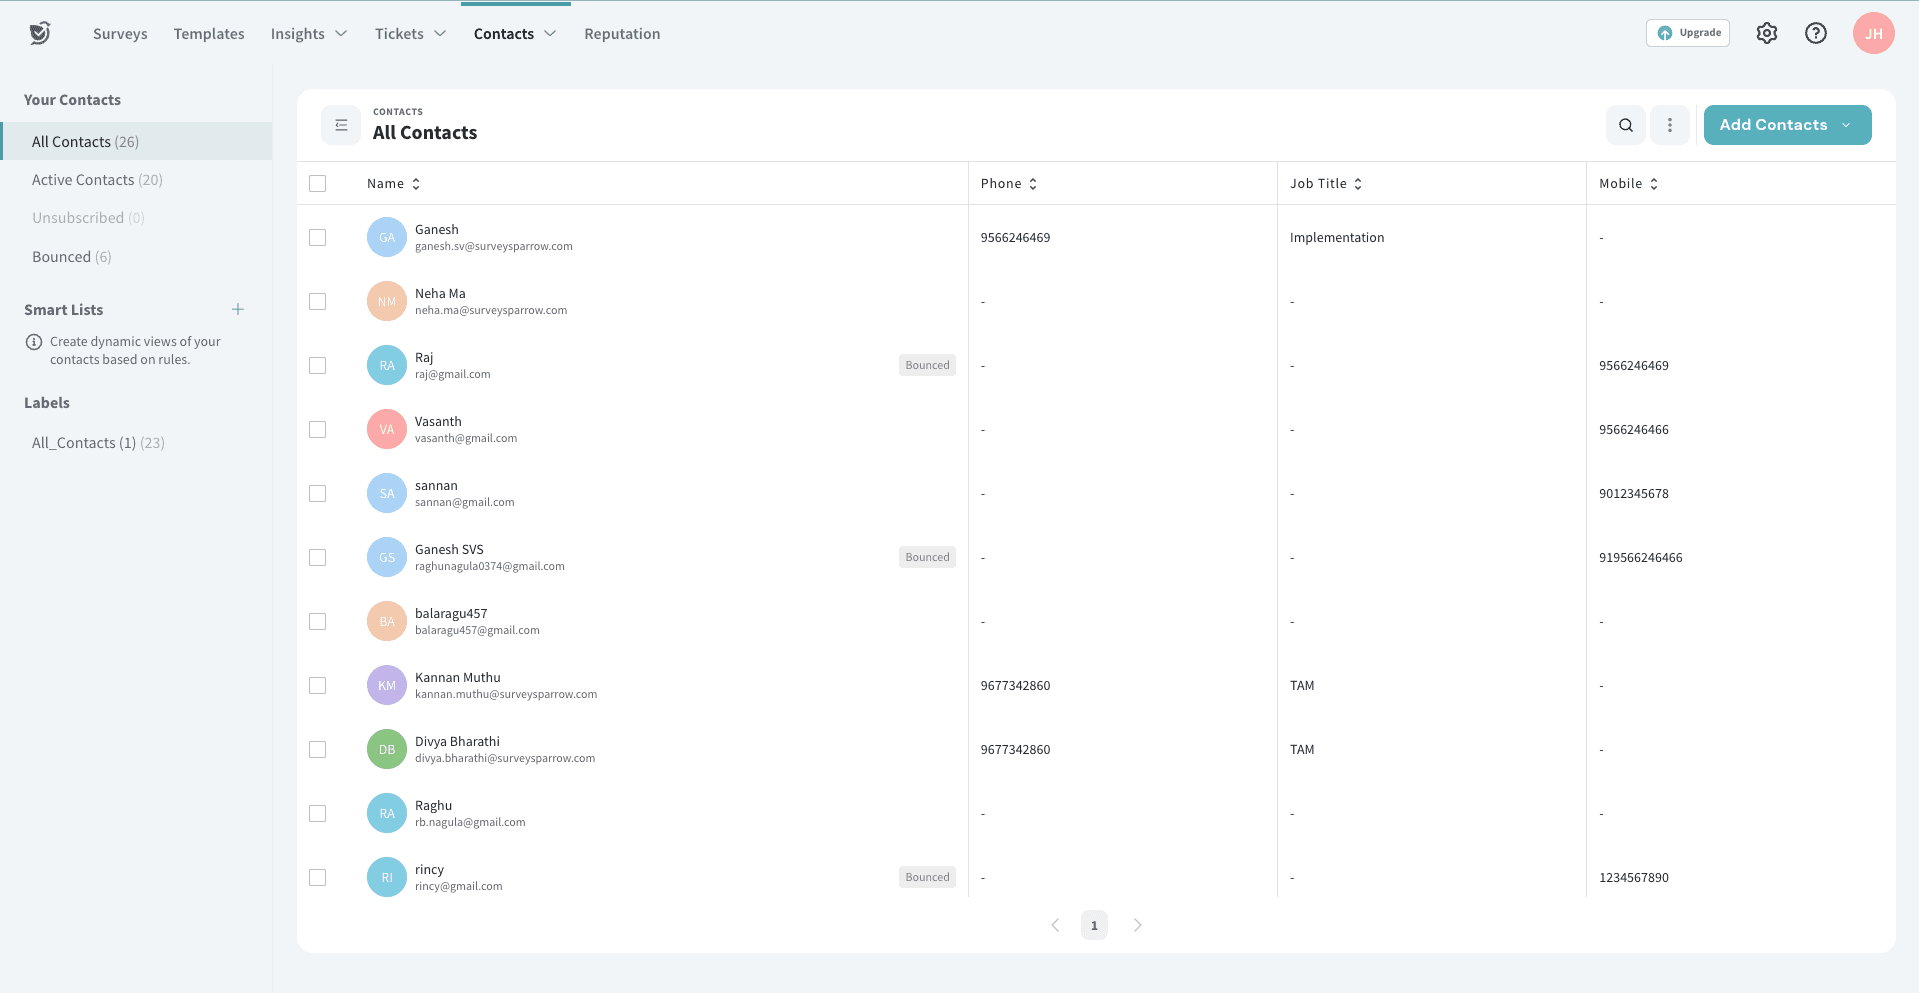
Here we go! Your contacts have been imported to the contact list from your .csv file, and you can use this contact list to share your survey.
A few quick tips for a smoother contact import:
- Can't find your Contact List or Smart List while selecting recipients? Simply start typing the exact list name in the recipient field, and it should appear in the suggestions.
- If your contacts are imported but the label is empty or surveys aren't being sent, check that the Survey Sent Date is in MM-DD-YYYY (for example, 06-24-2026) or YYYY-MM-DD (for example, 2026-06-24) format. If your spreadsheet changes the format automatically, set the column to Text before saving and re-uploading.
- For the best results, map each CSV column to a contact property with the matching data type (for example, Number → Number, Text → Text). If the required property doesn't exist yet, create a custom contact property with the appropriate data type before importing.
If you need any help along the way, feel free to reach out via chat or email—we're always happy to help!