
Integrating UiPath with SurveySparrow
If you’re held back with tedious workflows involving multiple tools, UiPath’s API-driven automation can help immensely. UiPath’s Integration Service allows you to connect your third-party applications with SurveySparrow, so you can design event-based workflows.
In this article, we will explain how you can automate repetitive tasks between SurveySparrow and your preferred systems. You will learn how to connect SurveySparrow to UiPath, and the process of creating a workflow as well.
Connecting UiPath to SurveySparrow
- Log into your UiPath account, then click on the 3 dots in the left panel to open a menu.
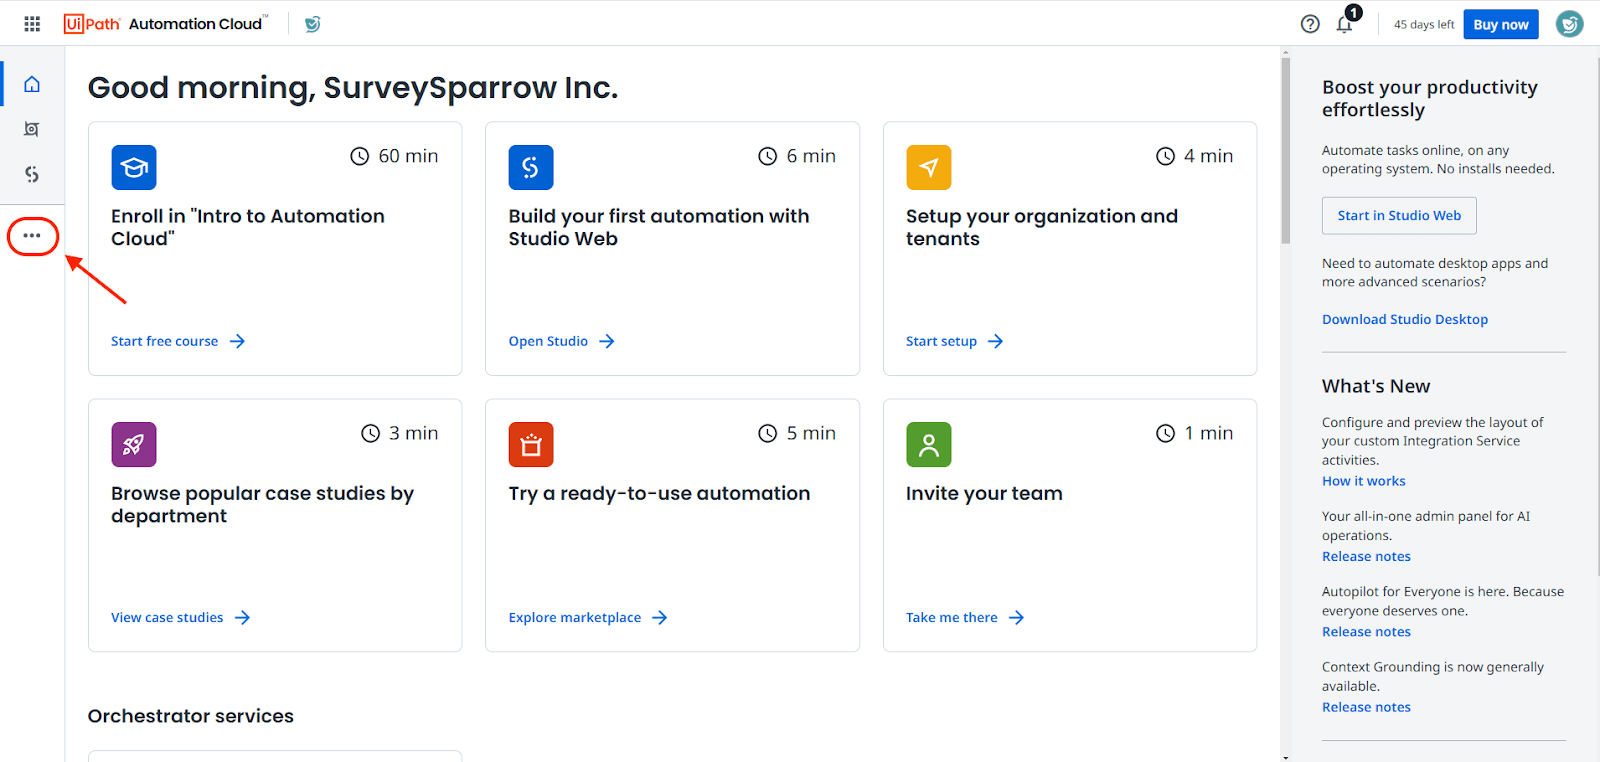
- Then, click on Marketplace.
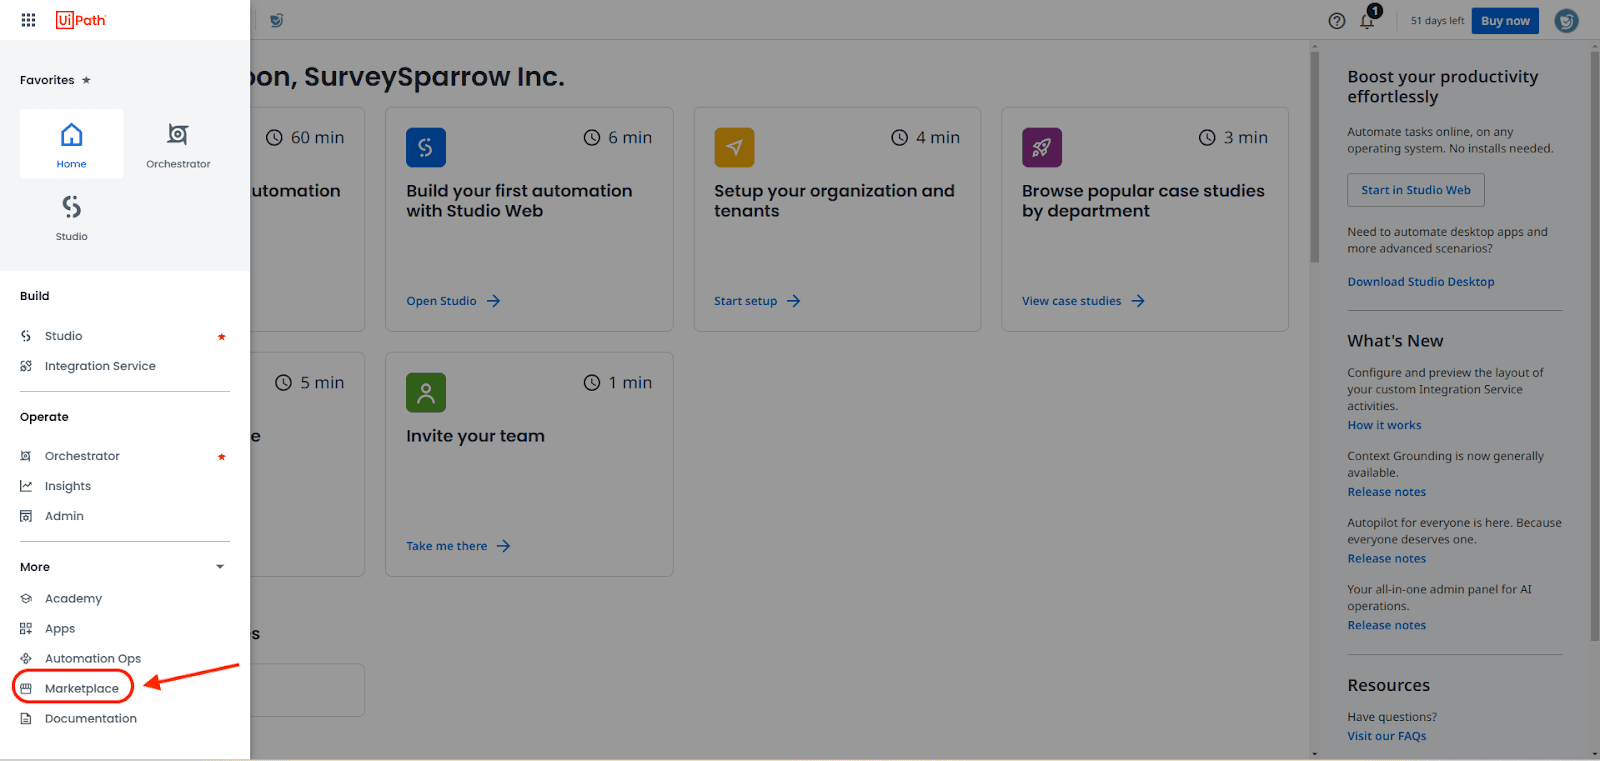
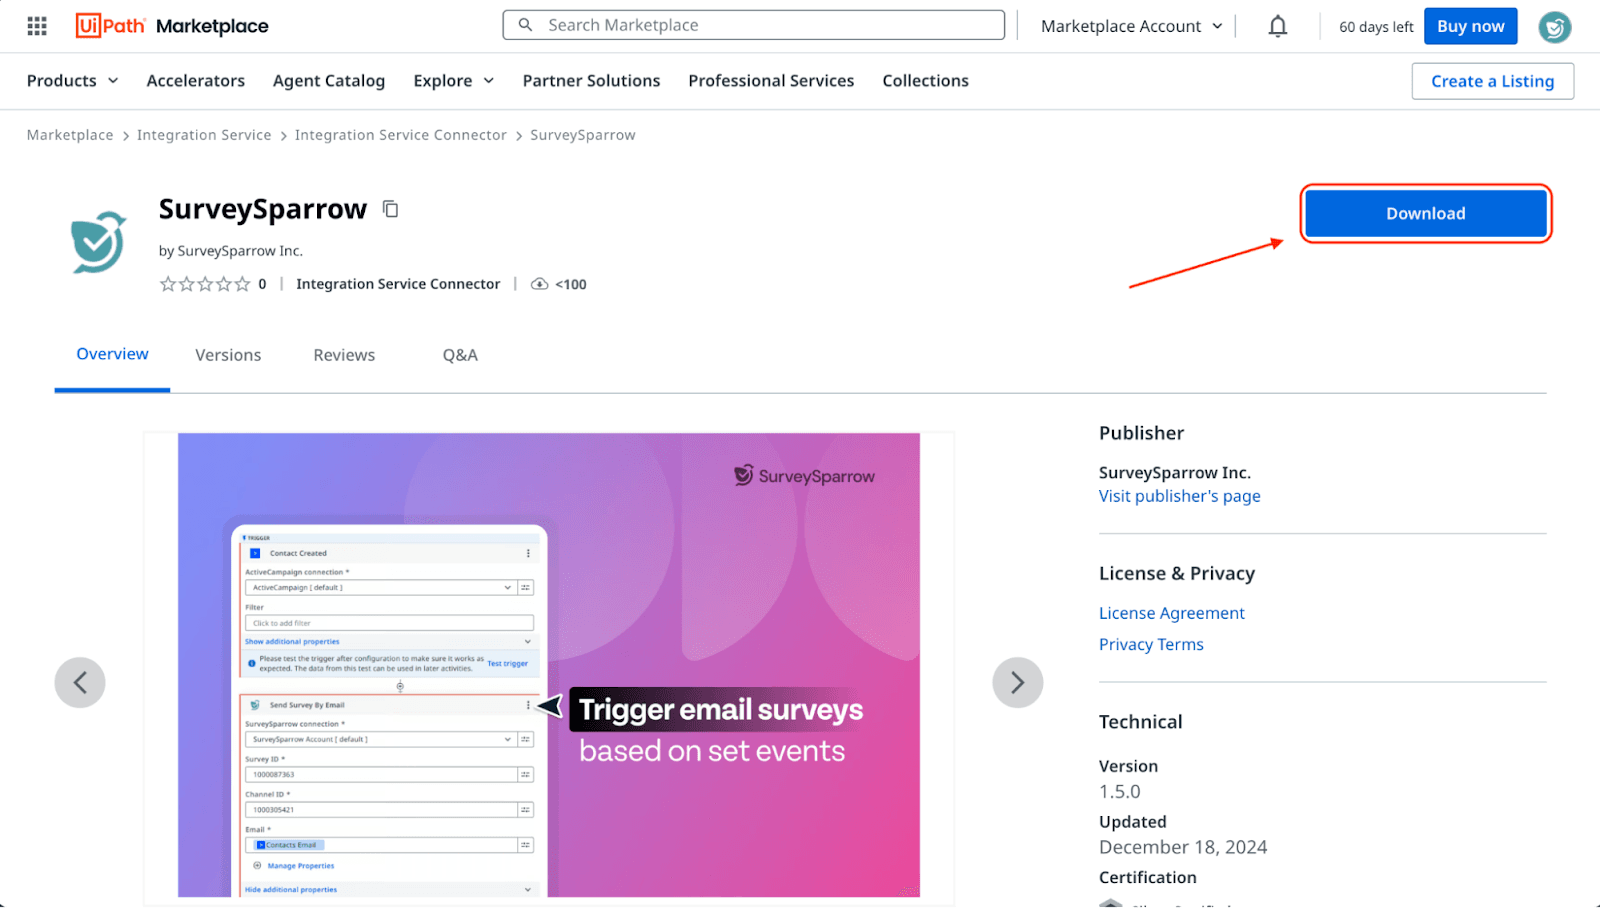
- When you enter the marketplace, use the search box to find the SurveySparrow connector.
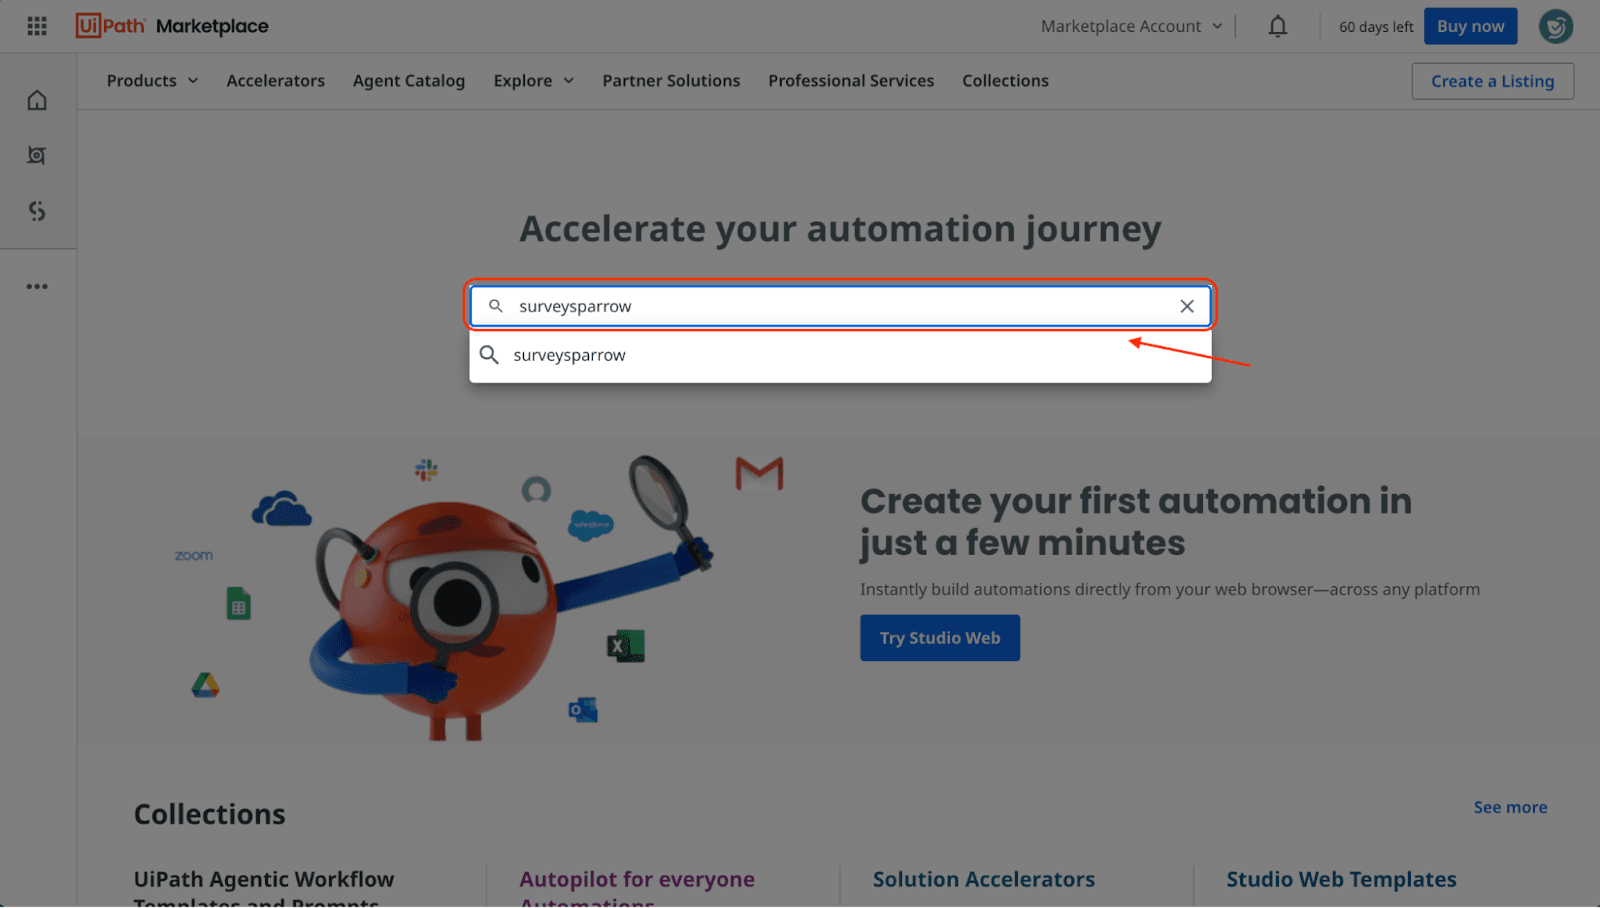
Note: A connector is a 3rd party app integration that connects your account to UiPath. In the case of SurveySparrow, you will first have to set up the connector inside UiPath before connecting your SurveySparrow account to UiPath. - Once you see SurveySparrow in the search results, click on the tile.
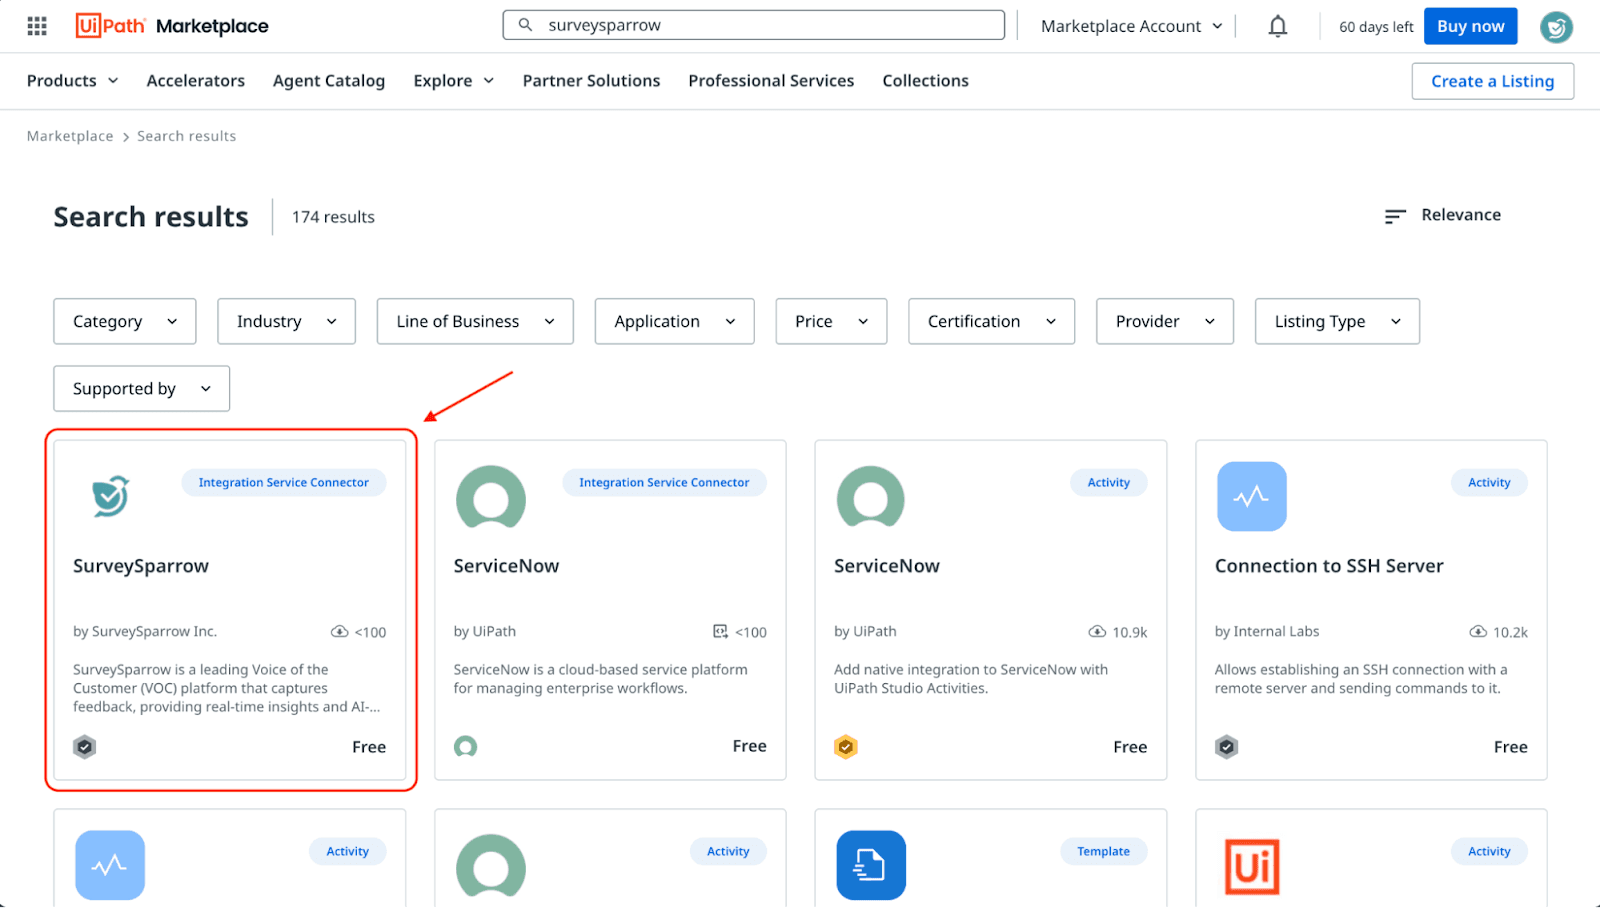
- When the SurveySparrow page opens, click on Download. The connector’s file package will appear in your computer’s Downloads folder.
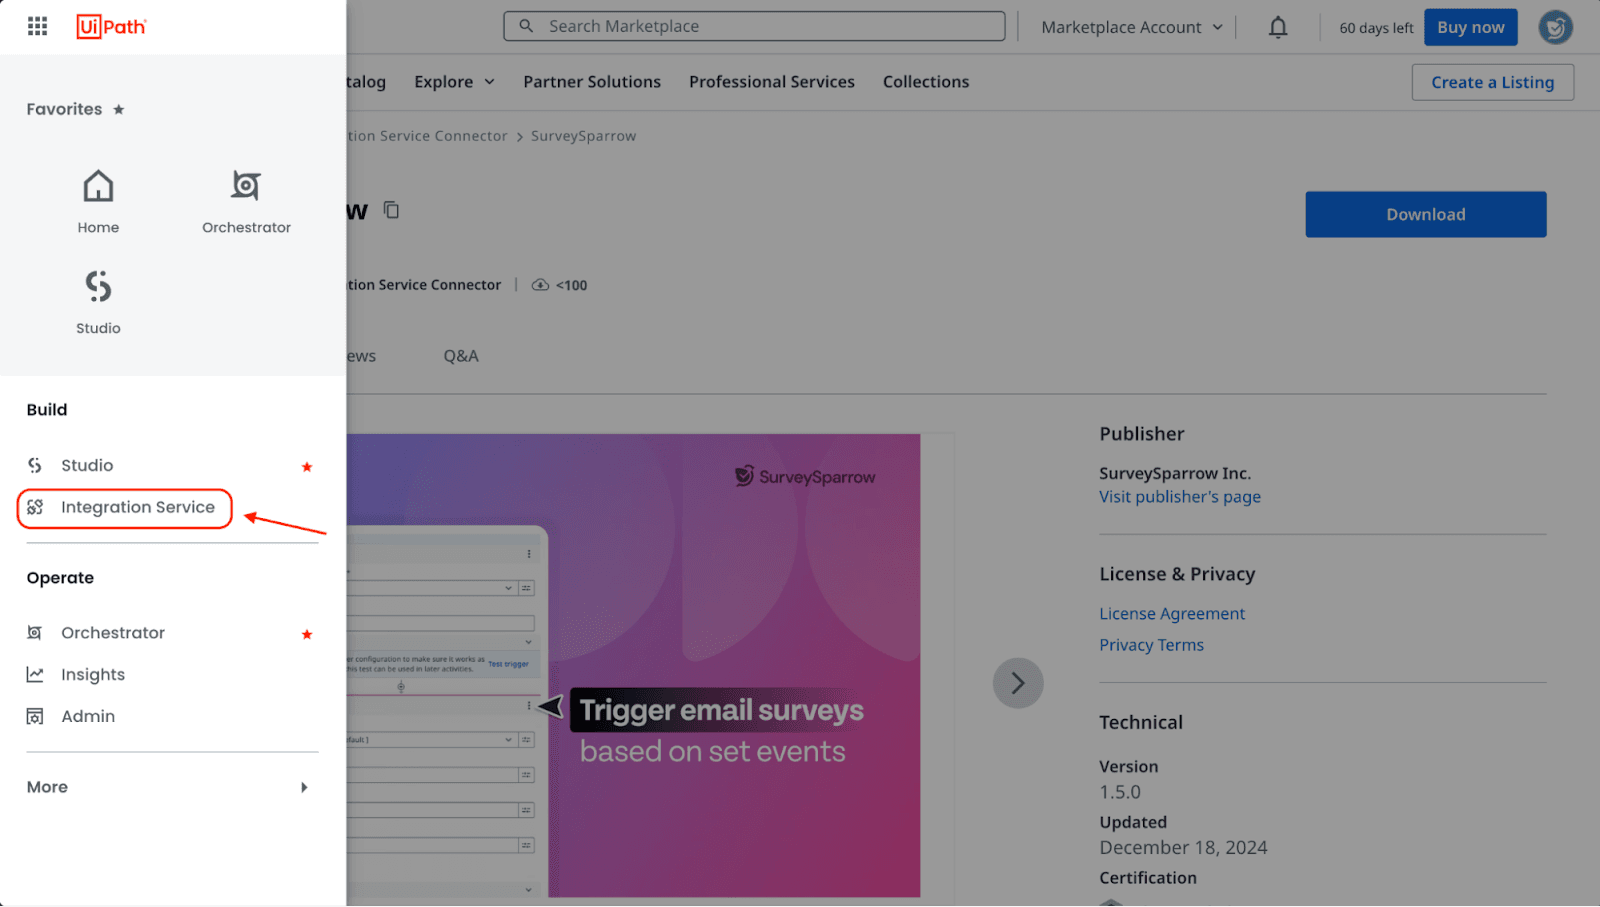
- Then open the left panel menu and click Integration Service.
- Once the My Workspace page opens, click on Build your connector.
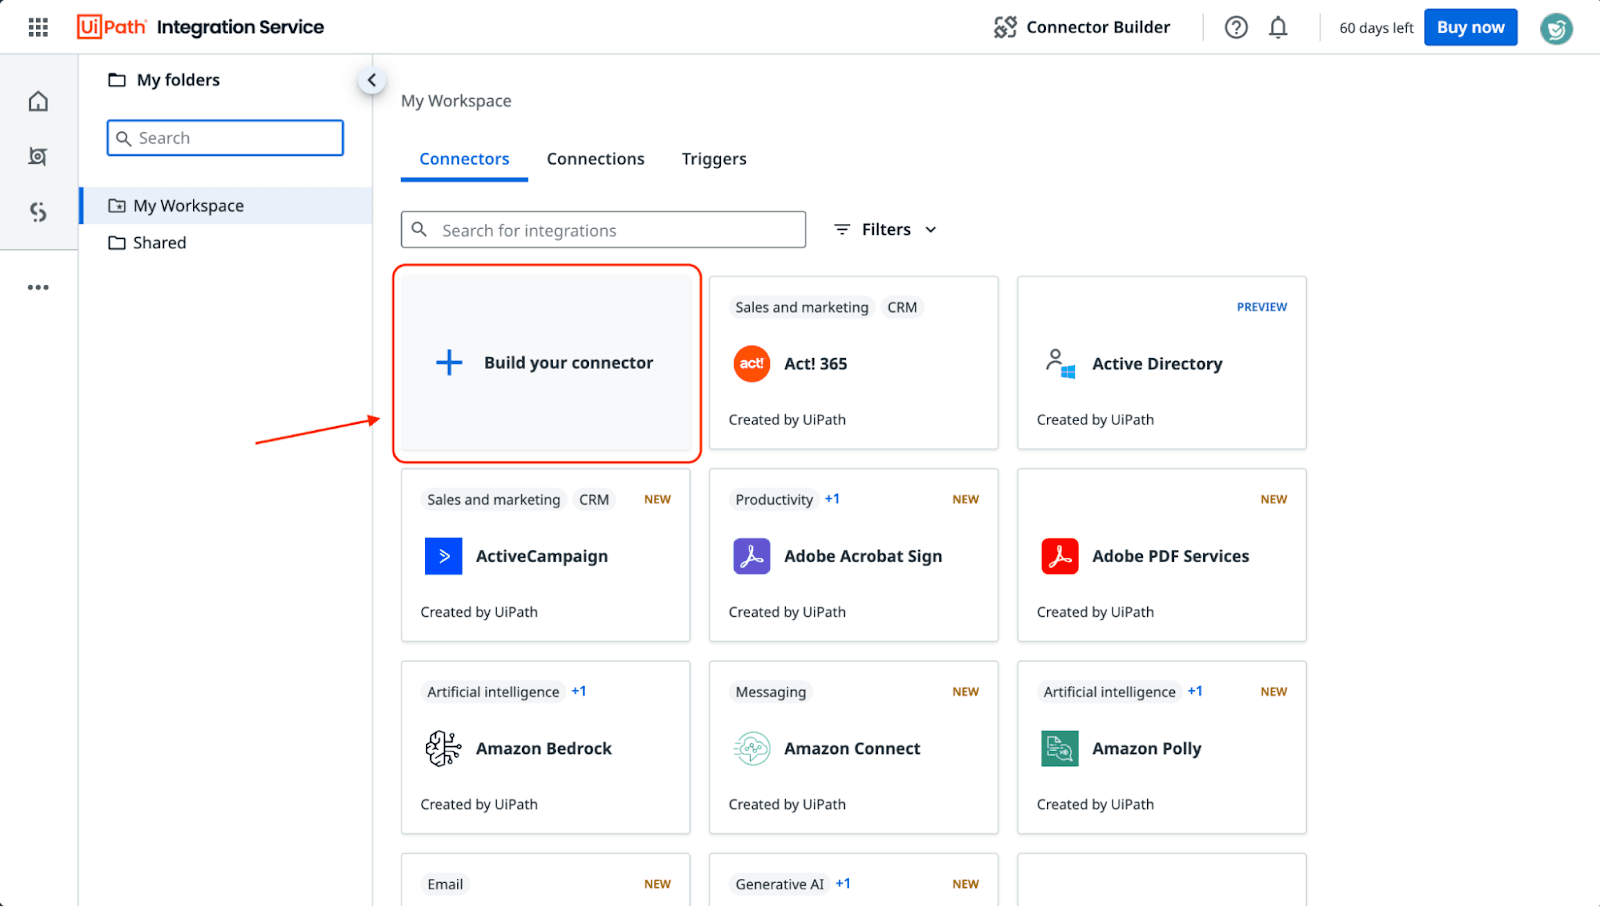
- Then click on Create new connector.

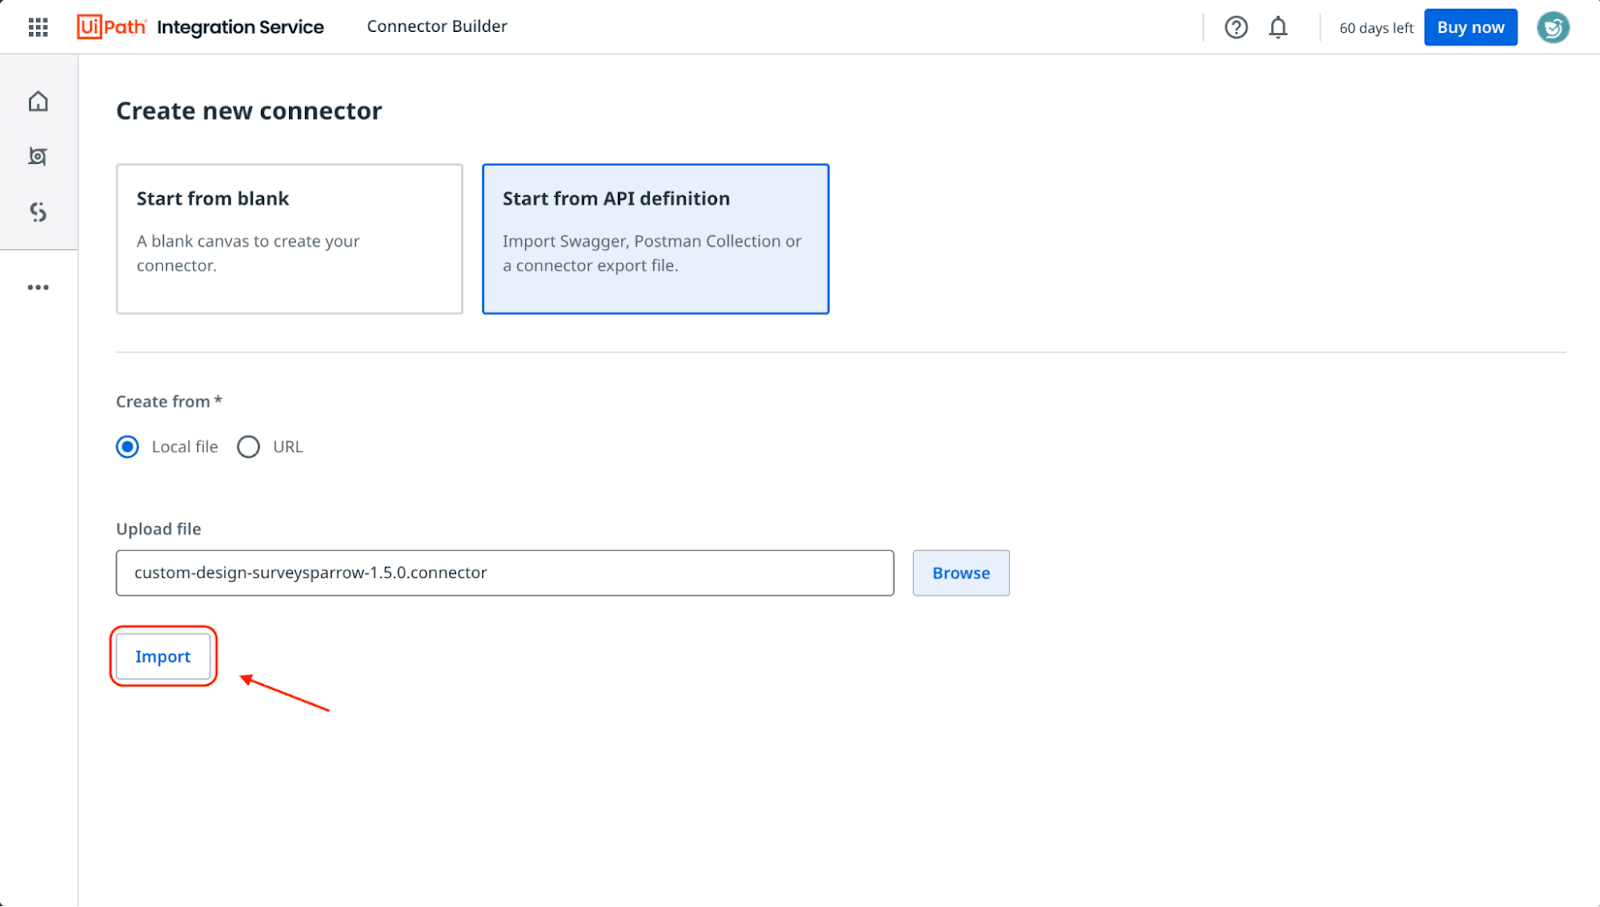
- Here, we will have to upload the connector file package that we downloaded earlier. Click on Browse.
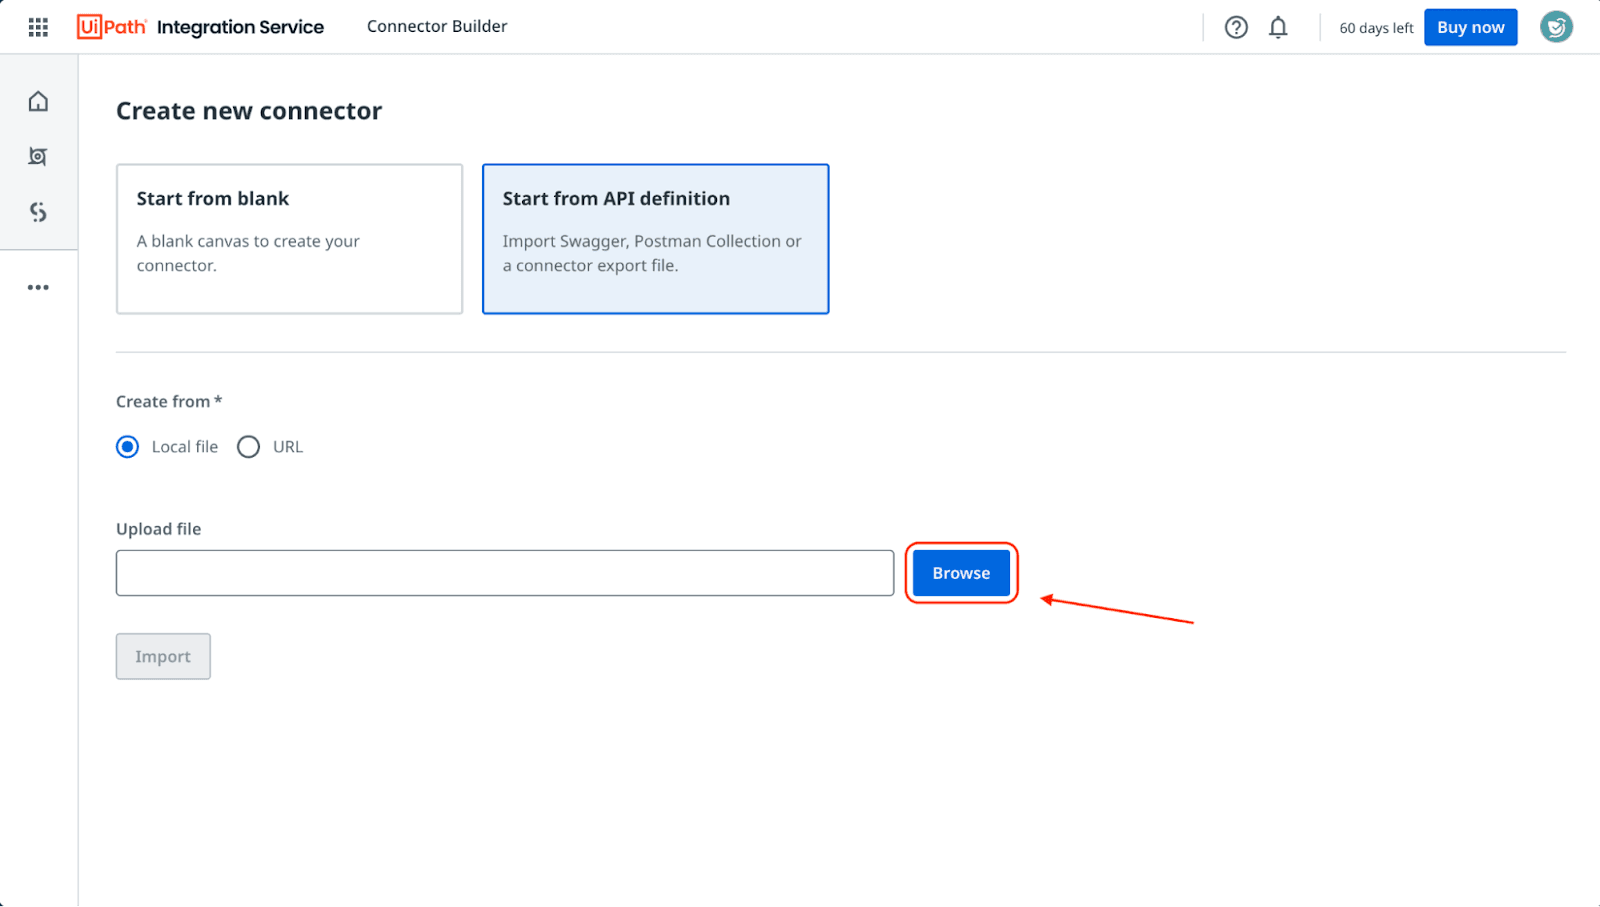
- Select the file package from your downloads folder.
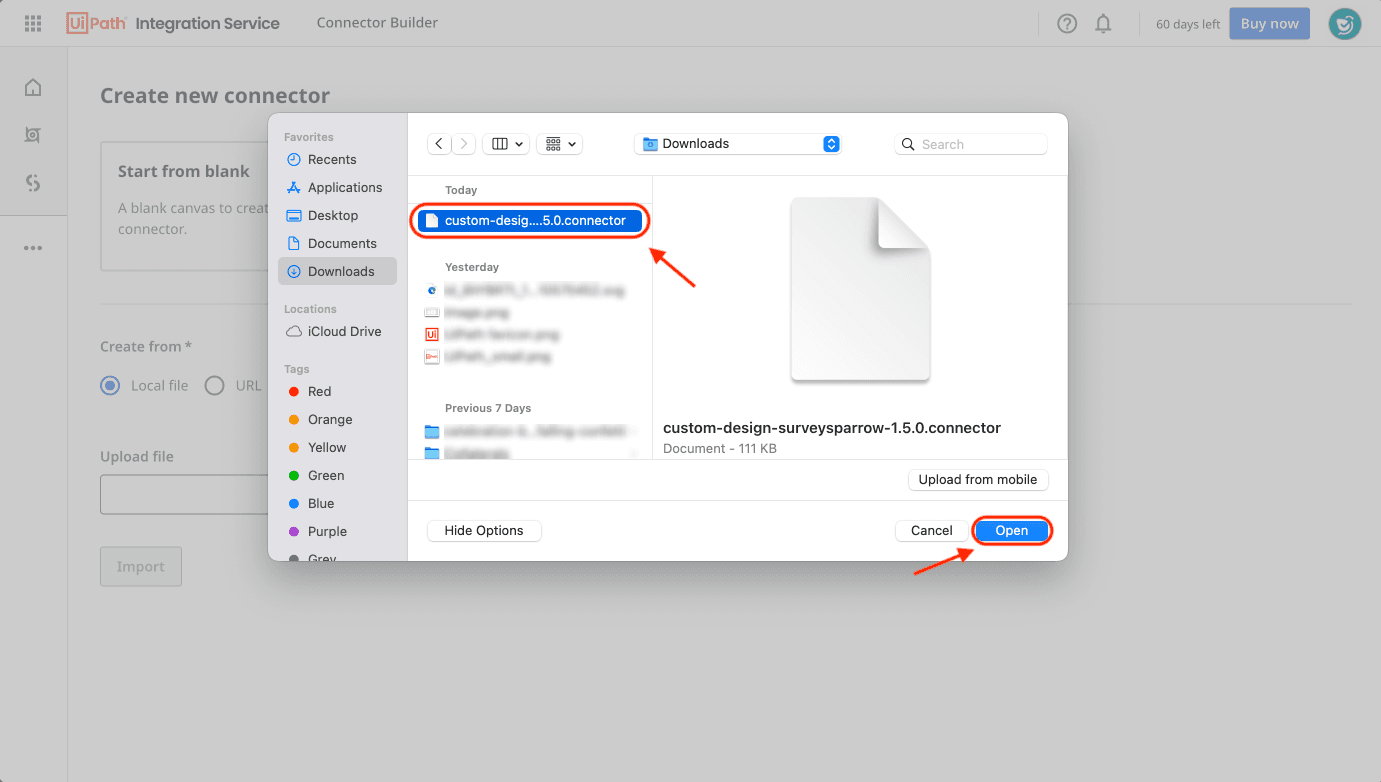
- Then click on Import.
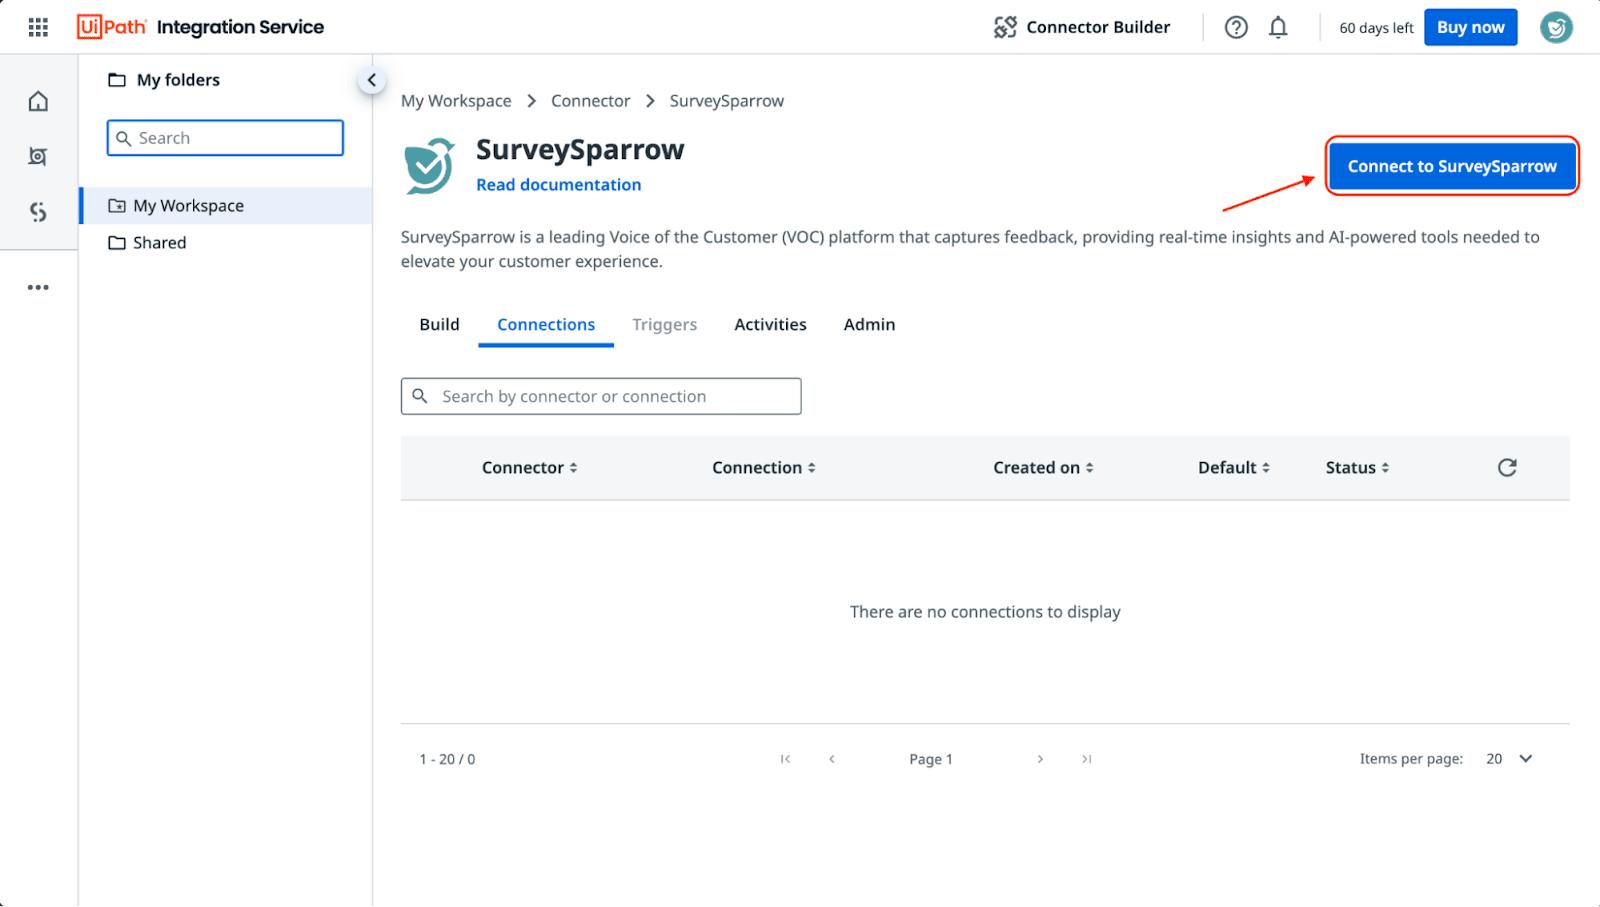
- Now the SurveySparrow connector is ready! It’s time to connect your SurveySparrow account to UiPath. Click Connect to SurveySparrow.
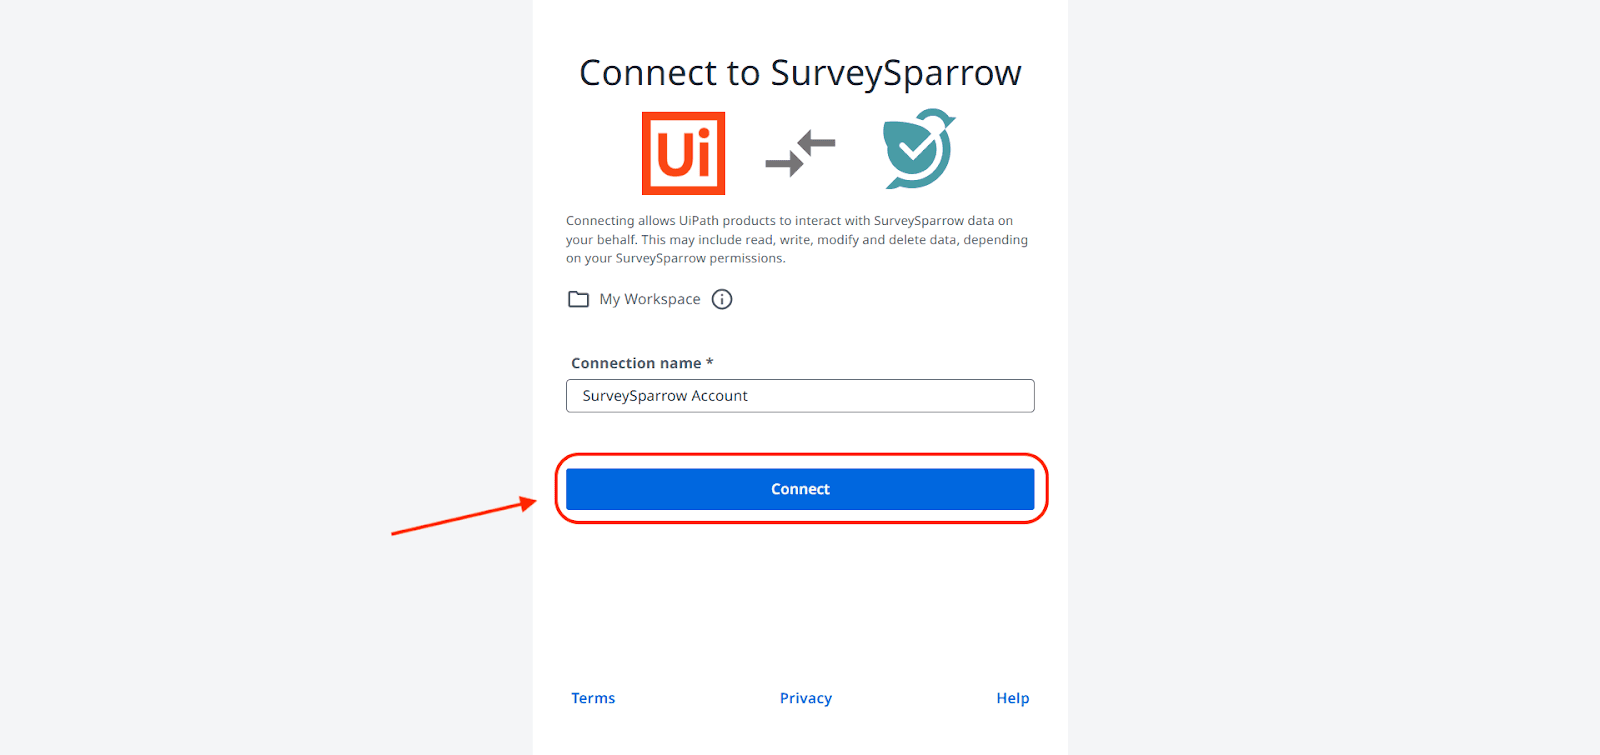
- The authentication screen appears. Click on Connect.
- Then log into your SurveySparrow account with your account credentials.
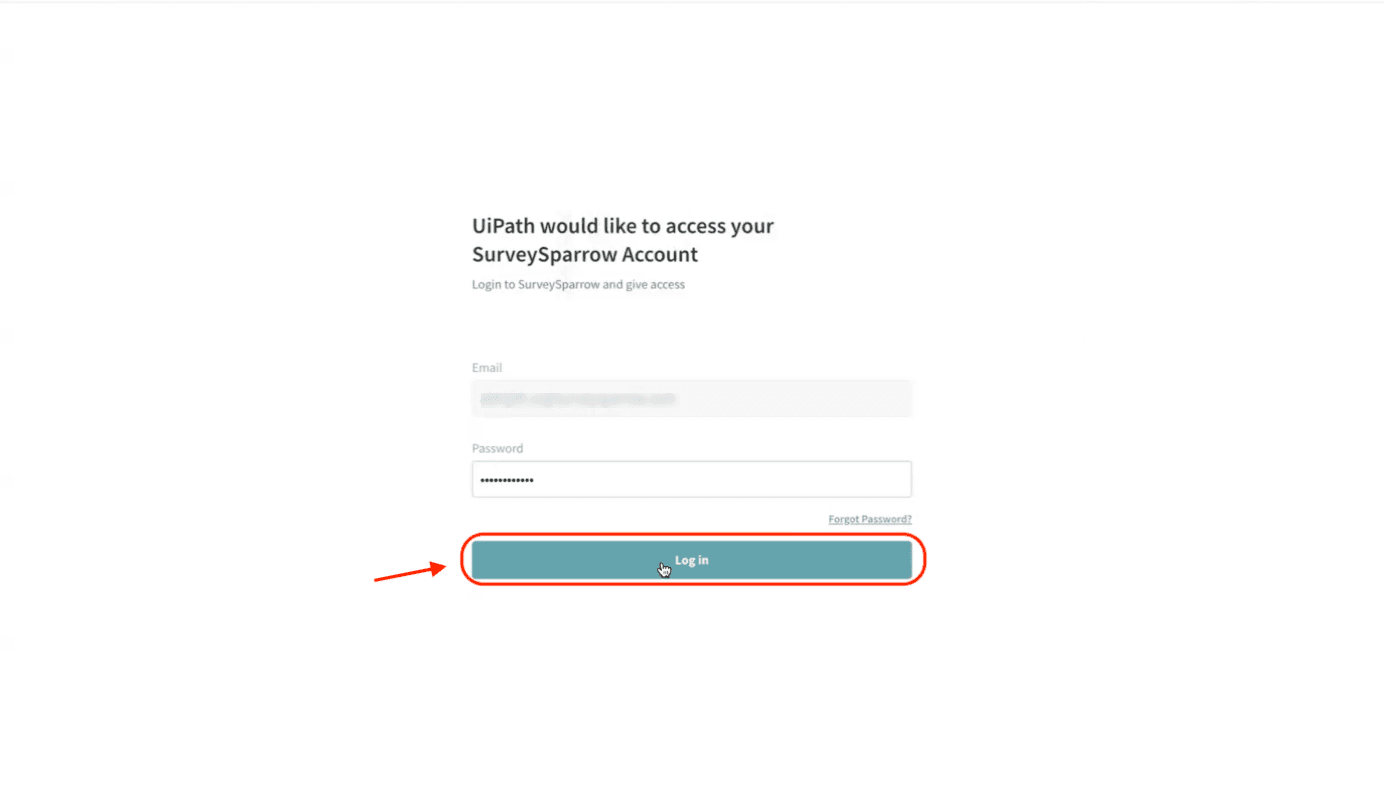
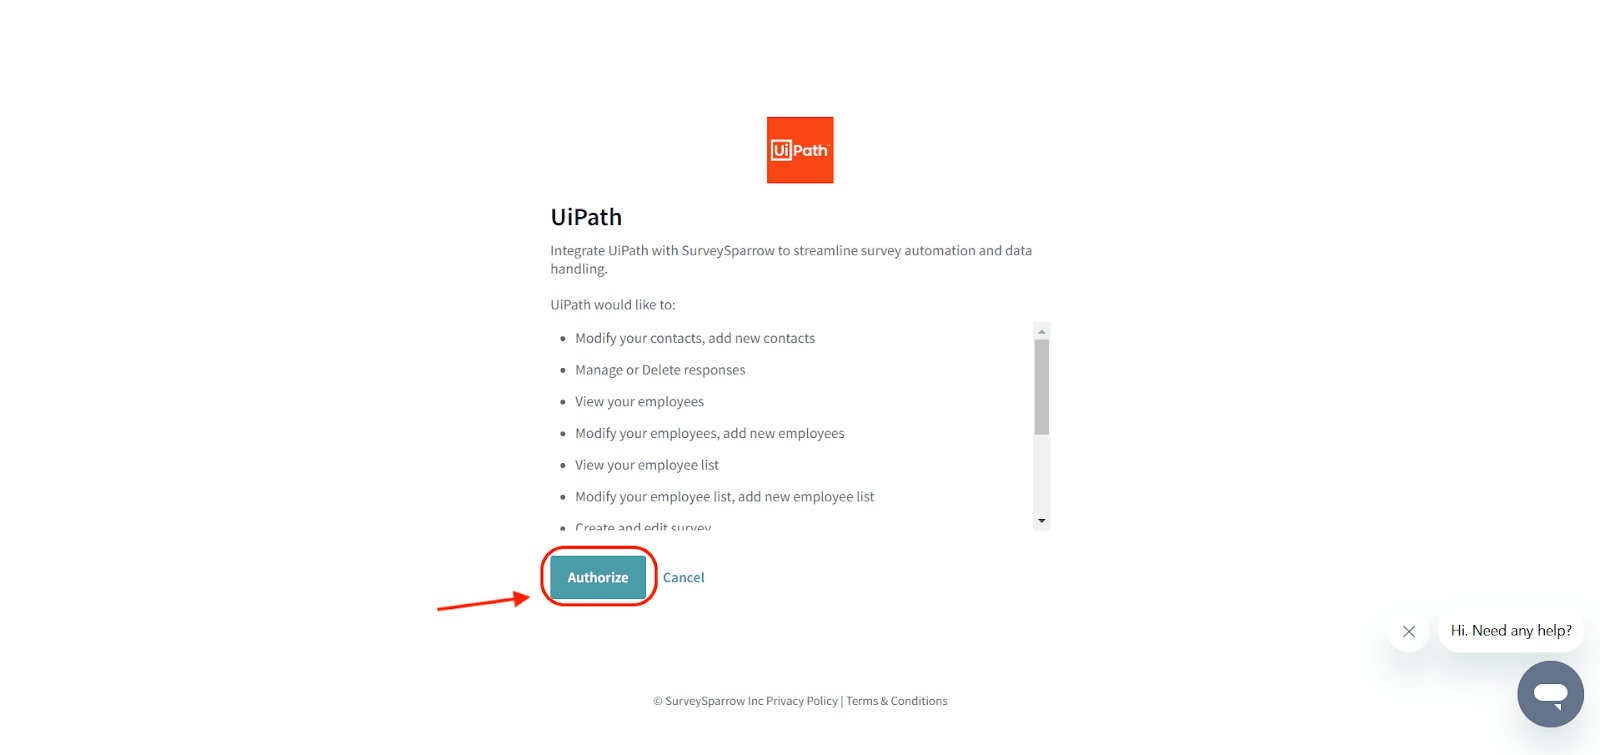
- You will be shown a list of permissions for UiPath. Click on Authorize.
- After this, you will be returned to the SurveySparrow connector page. Under the Connections tab, you will see your account with the status Connected.
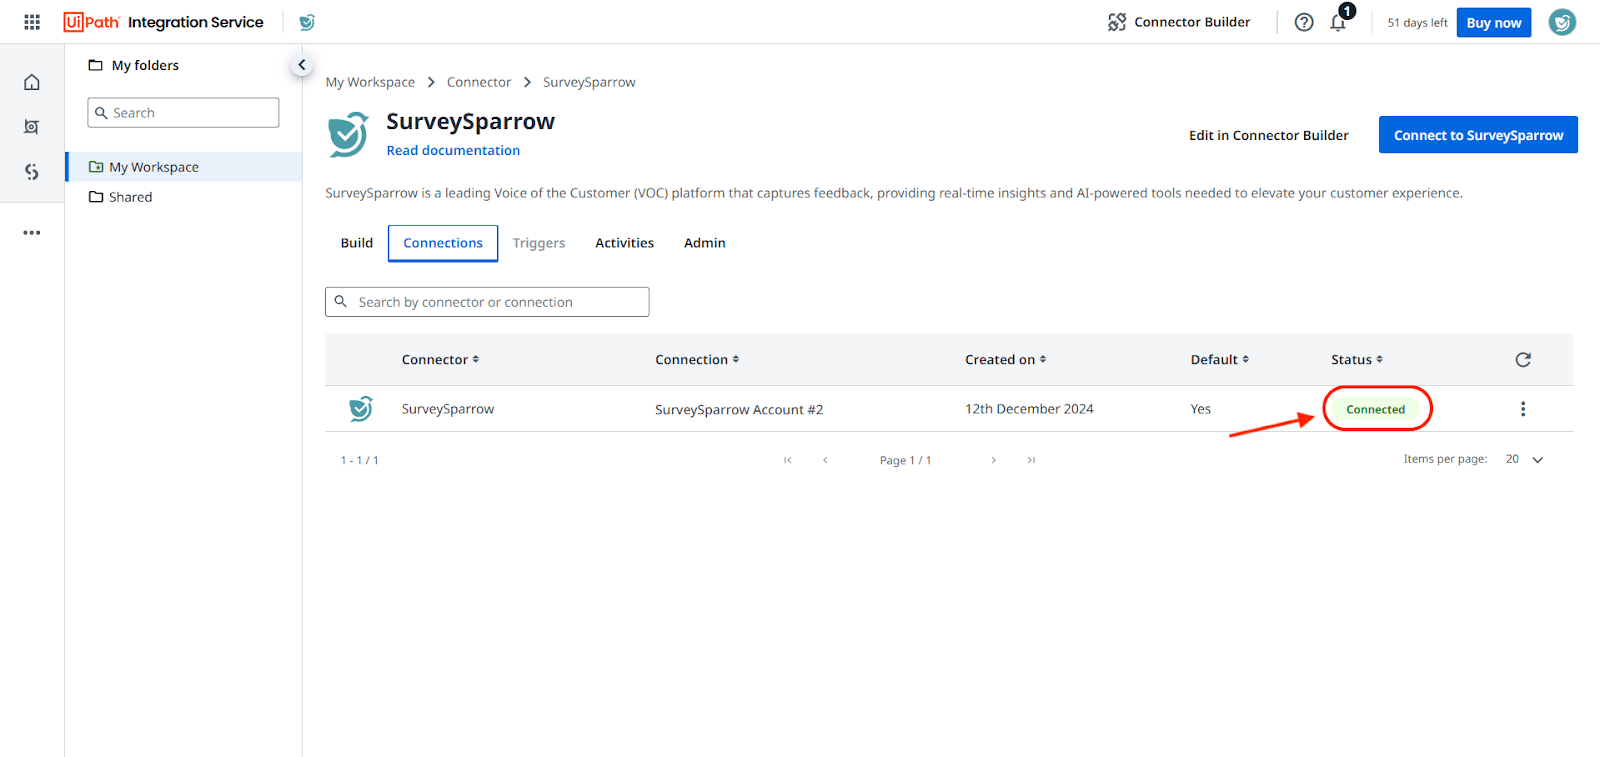
Note: When you have connected an account via a connector, it becomes a connection. You can add multiple connections (with different accounts) for an app. If you wish to add other SurveySparrow accounts as connections, repeat the previous steps. Also, connect your accounts to the other applications that you plan to use in the workflow.
Creating workflows inside UiPath
To create workflows, you will need to visit UiPath Studio. For the purpose of this article, we will be creating a workflow where new leads in ActiveCampaign are automatically added to SurveySparrow.
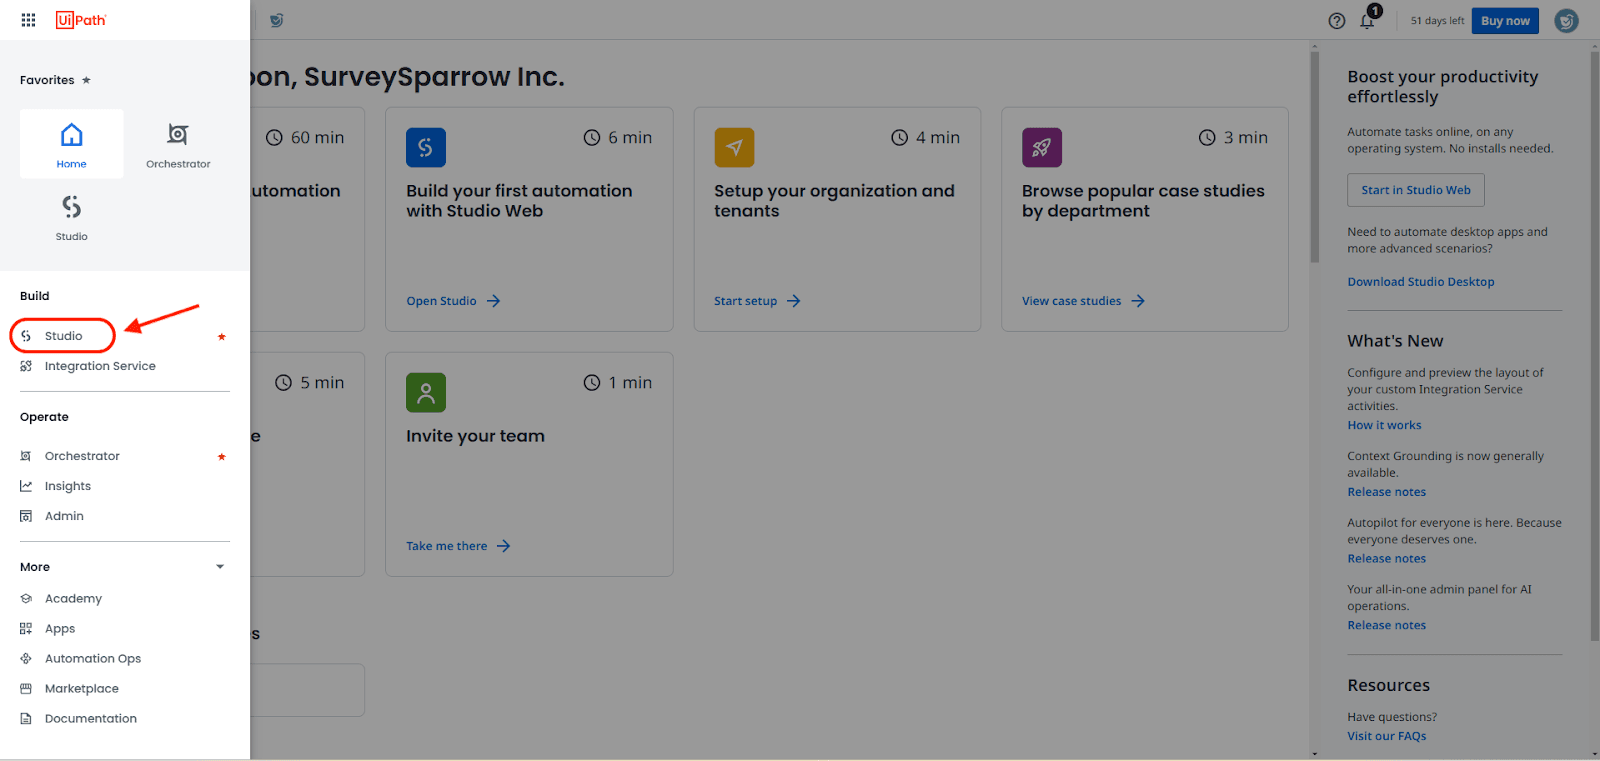
- Click on the 3 dots in the left panel to open the menu.

- Then click on Studio.
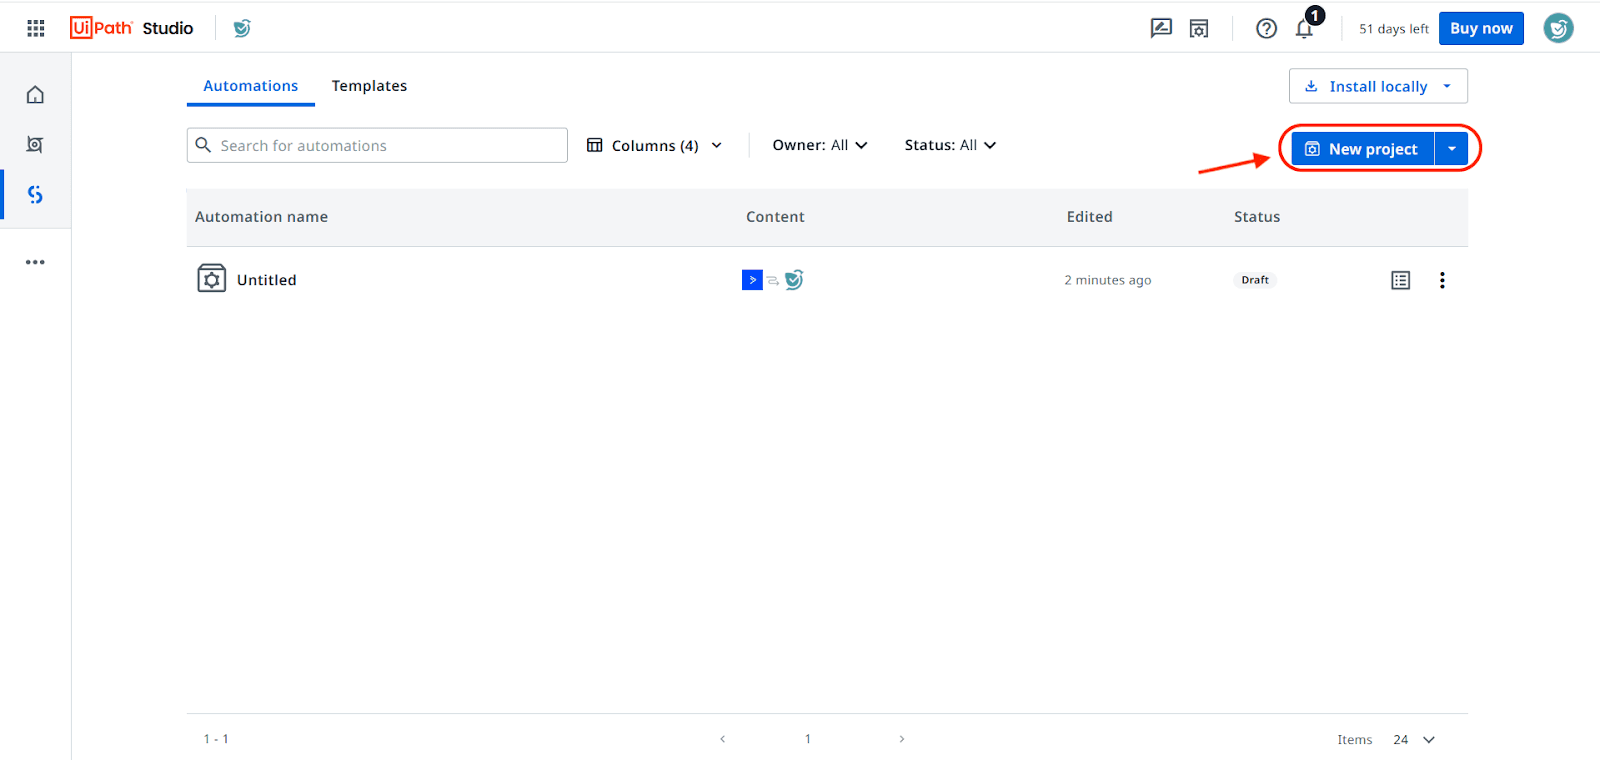
- When the Studio opens, click on the Automations tab, then click New project.
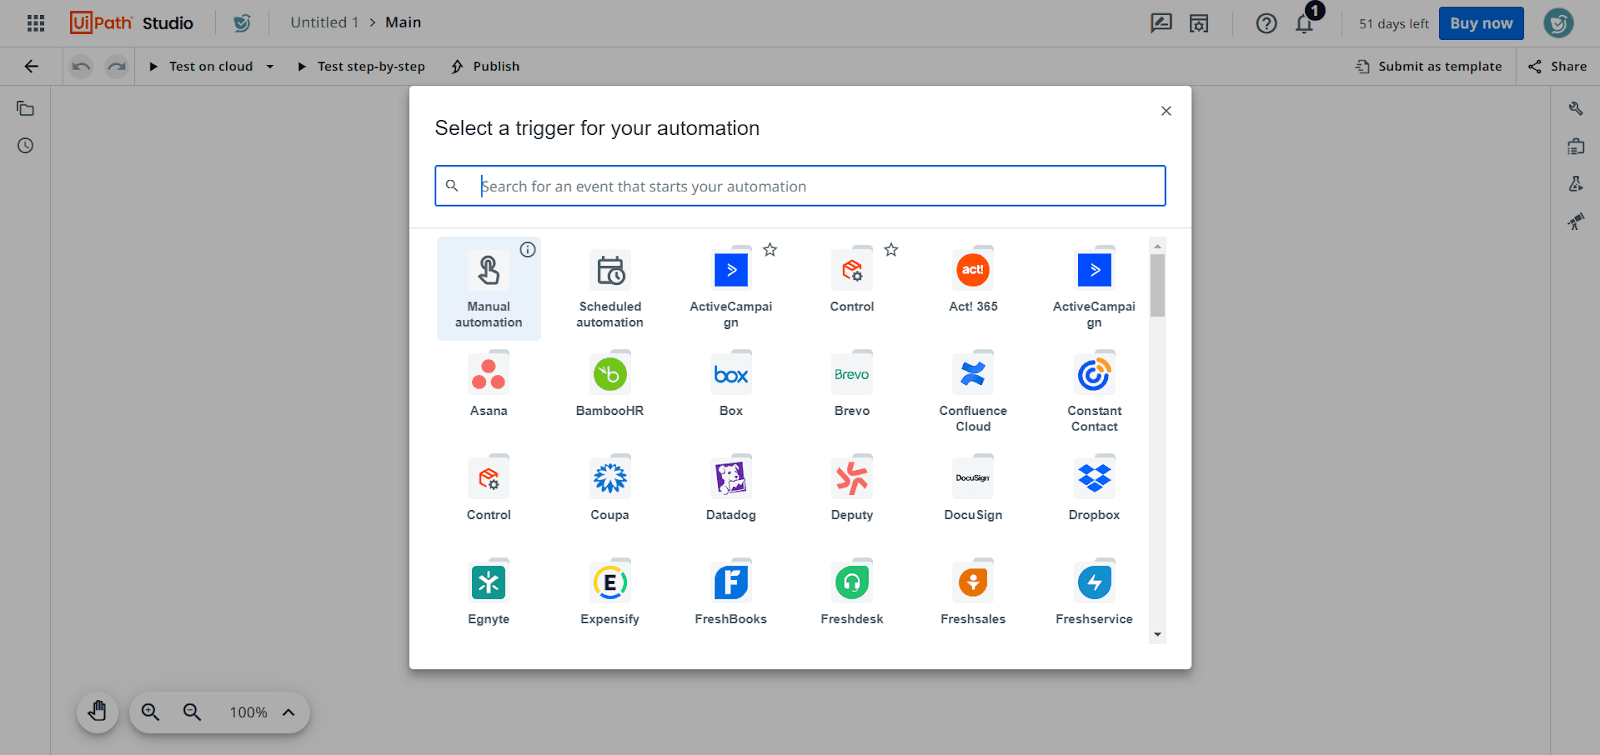
- You will be asked to select a trigger for your automation. If your desired connector is visible in the list, click on it, or type its name in the search box. In this case, we will be searching for ActiveCampaign’s connector.
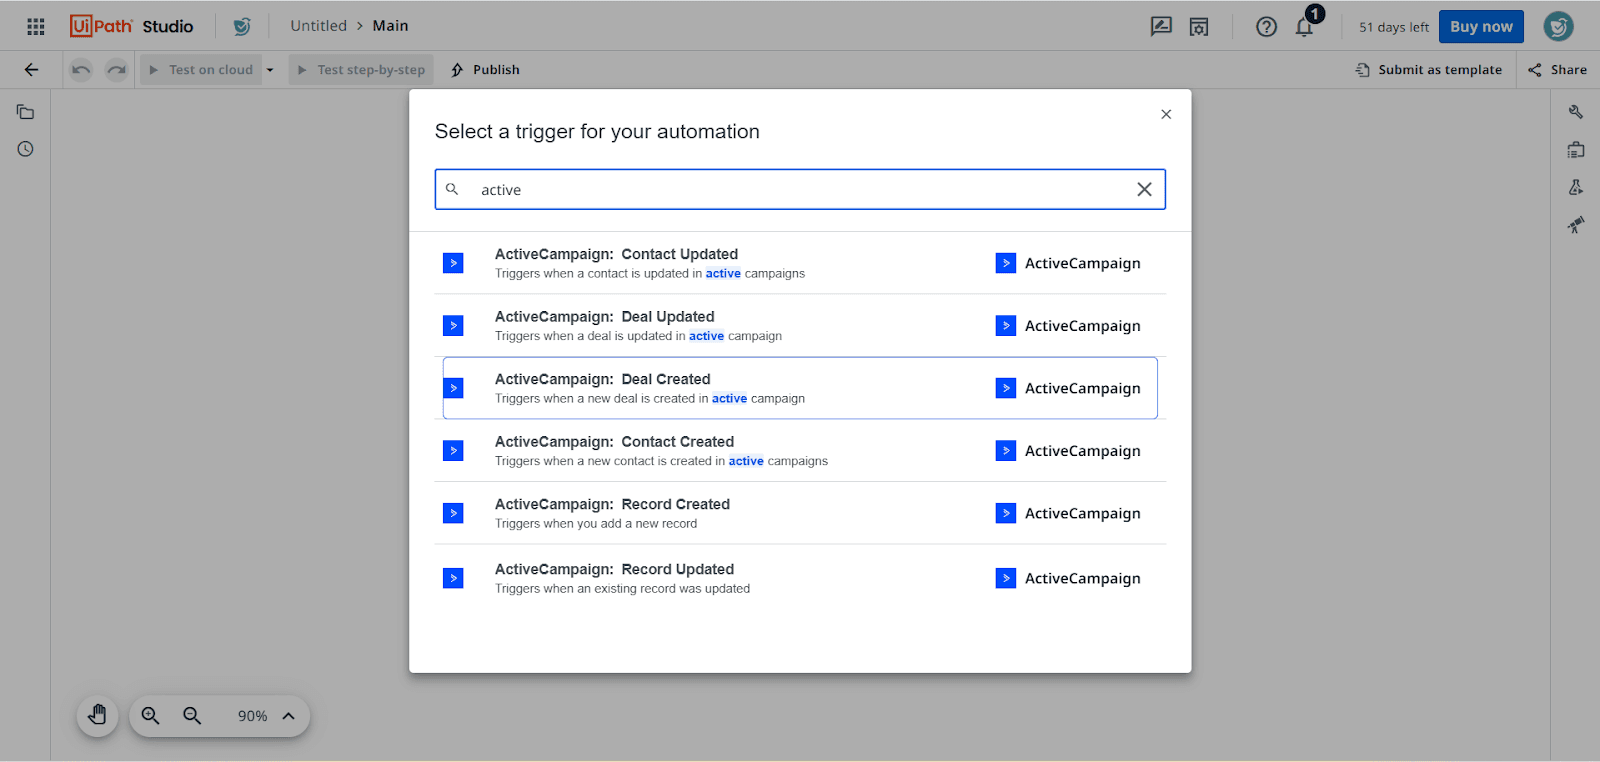
Note: A trigger is an event within a connector that sets off the workflow. For example, imagine you create a workflow where new contacts created in your CRM are automatically added to SurveySparrow. Here the trigger is new contacts being created, and it happens in the connector for your CRM. The SurveySparrow app currently does not have any triggers. - Go through the list of triggers for the connector and click on one.
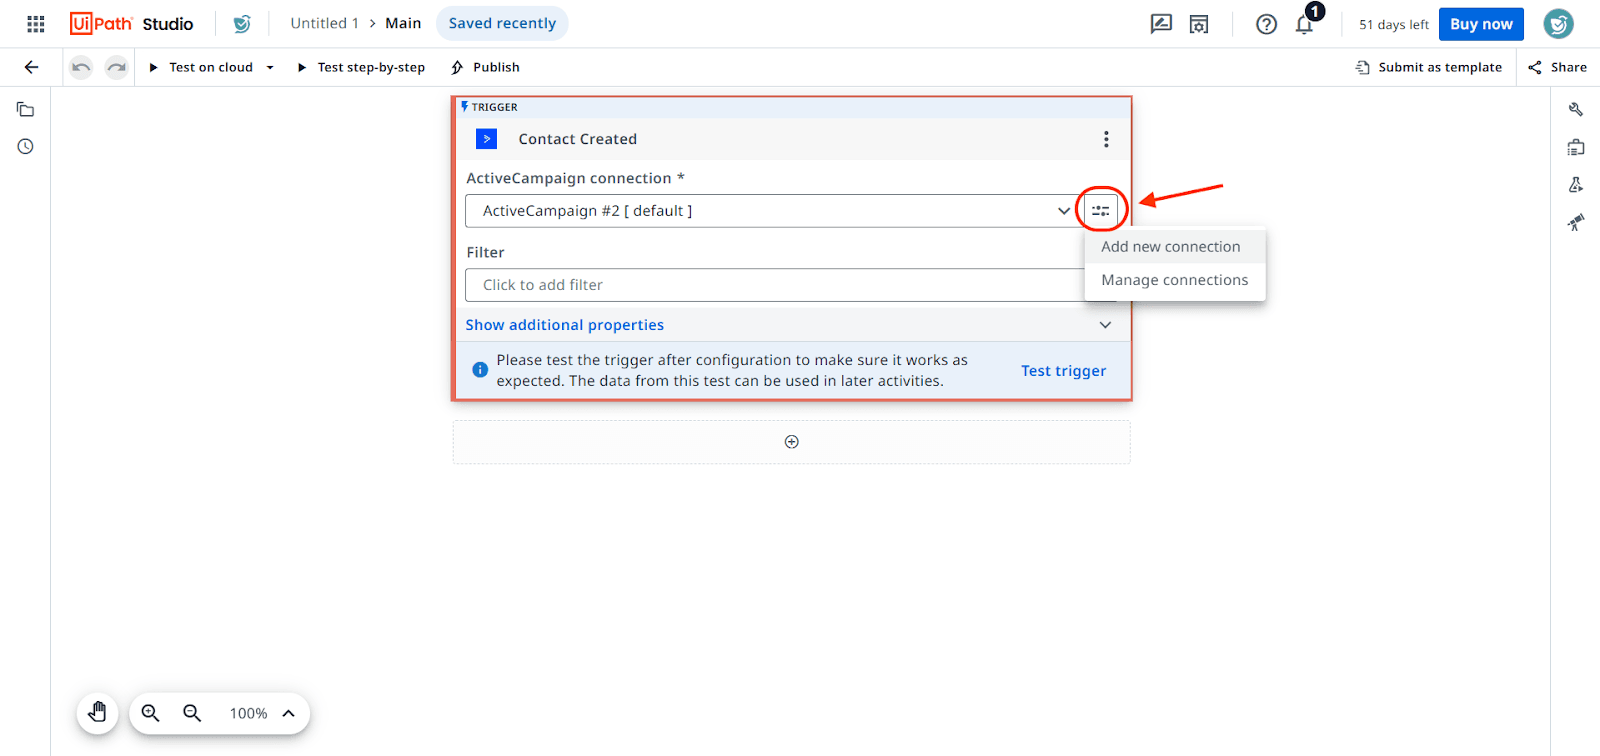
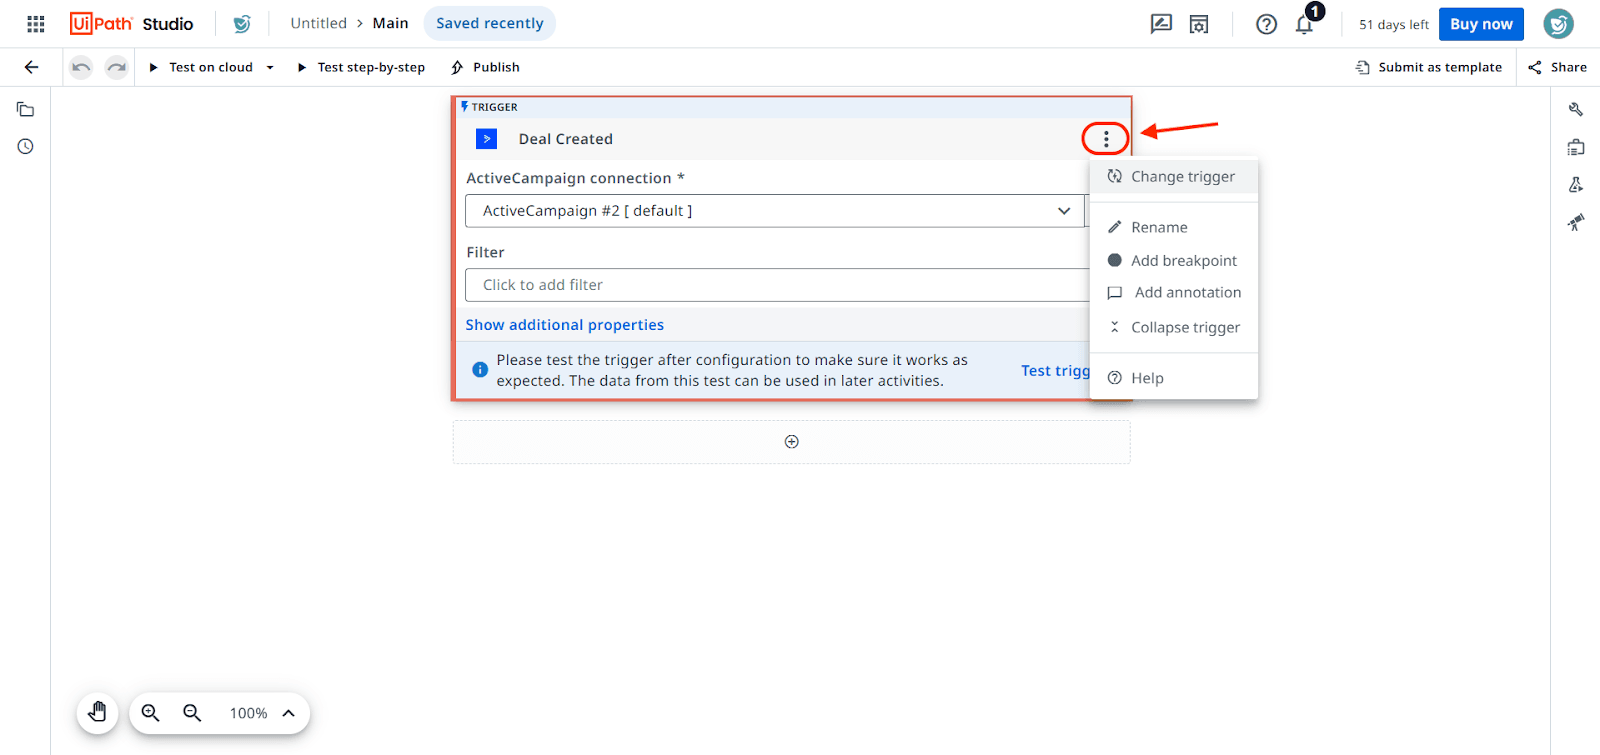
- The trigger is now ready. If you would like to change the connection or add a new one, click on the menu button in the right end of the connection field.
- If you would like to change the trigger or rename it, click the 3-dot icon.
Note: If you haven’t added any connections, you will see a message in the connector asking you to connect your account.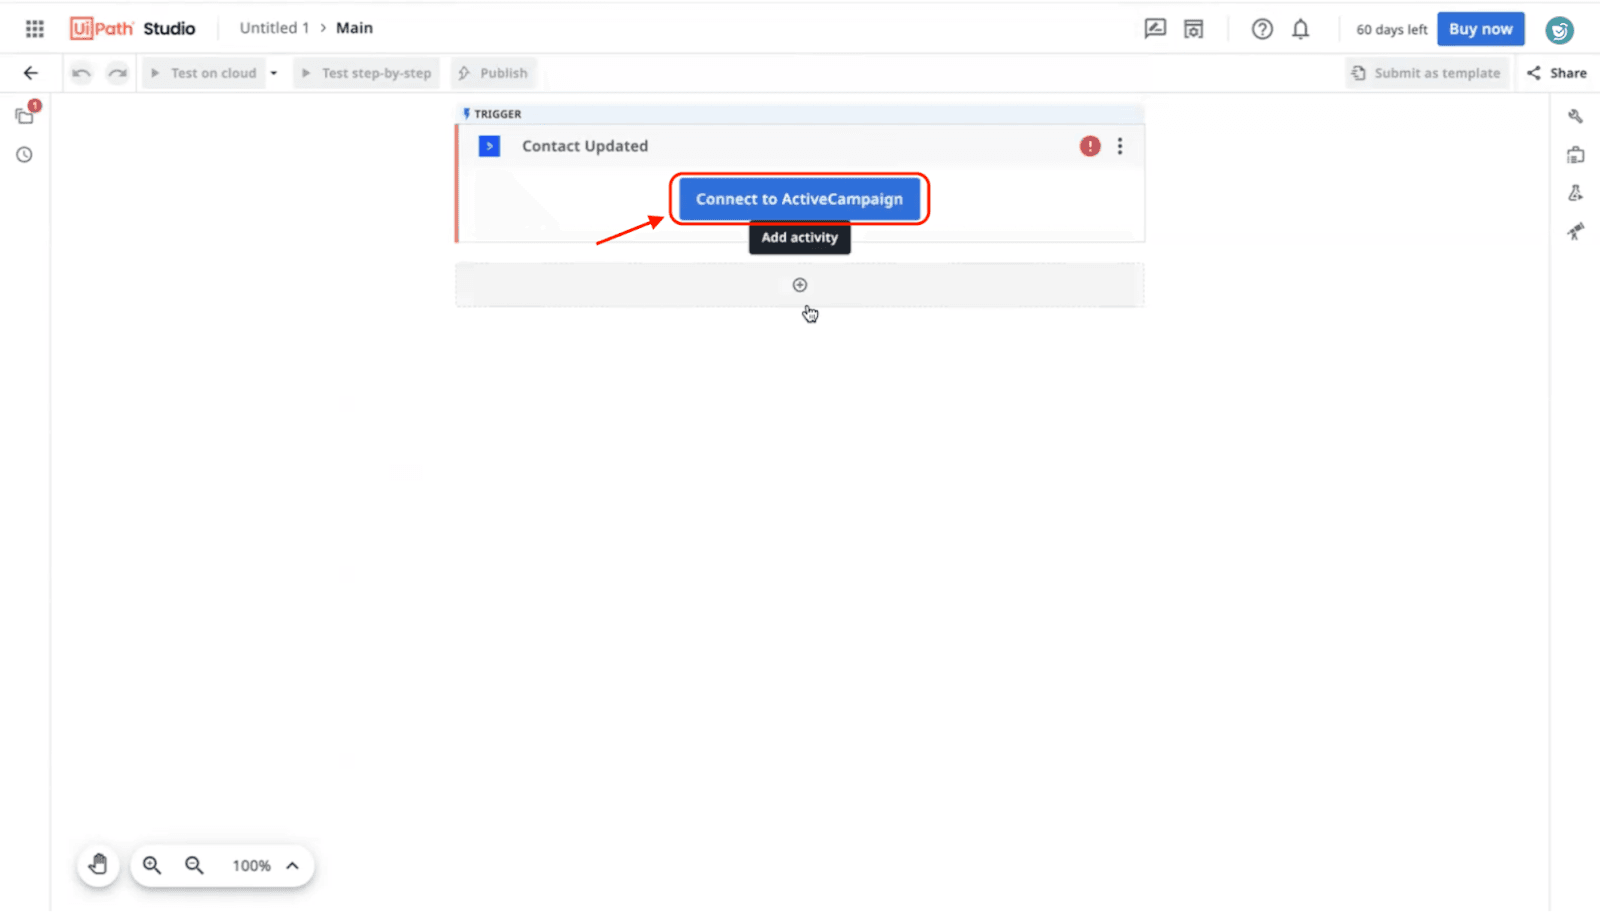
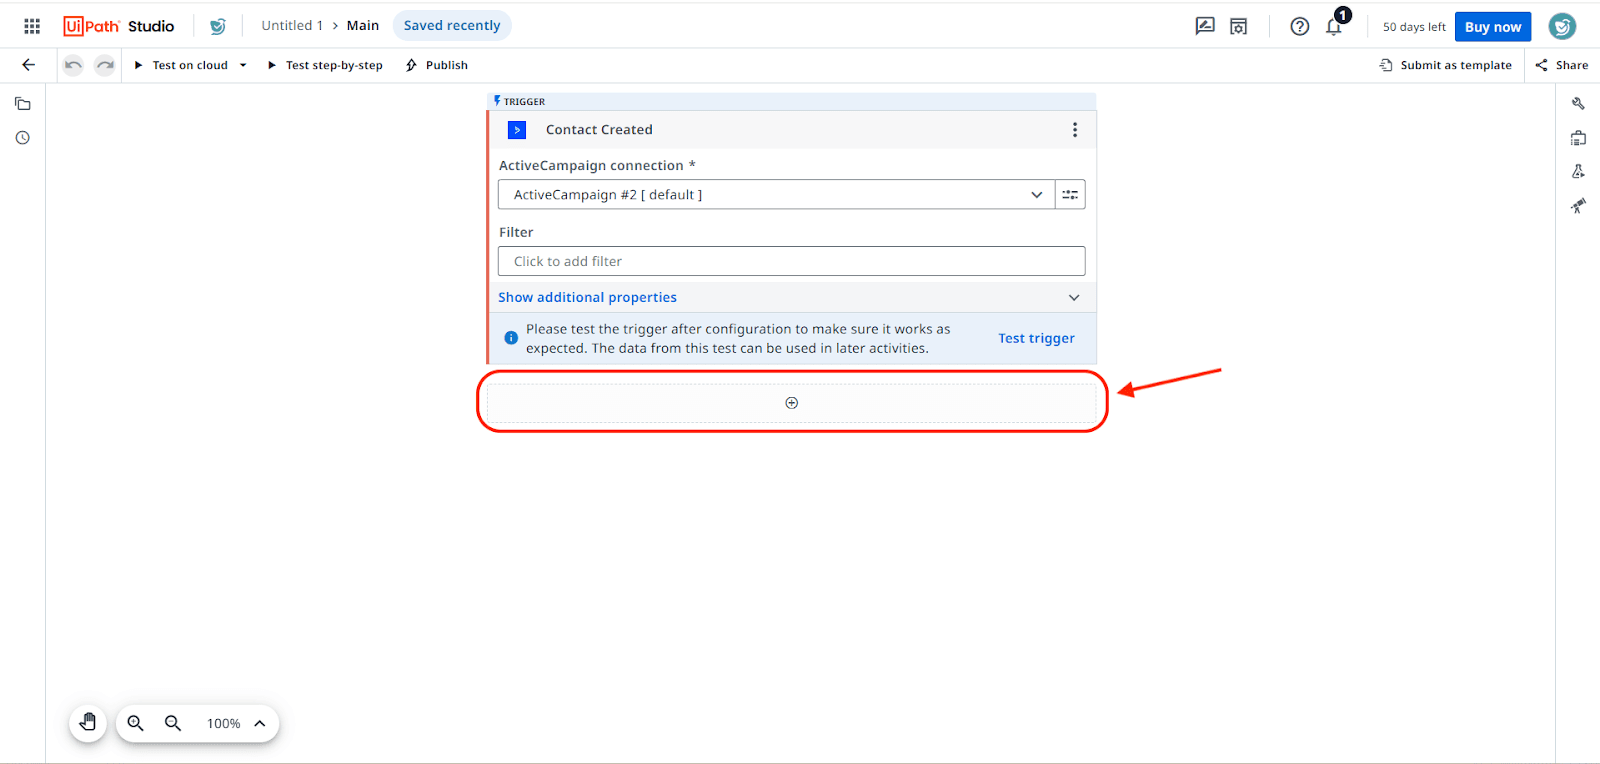
- To build out the rest of the workflow, click on the plus icon below the trigger.
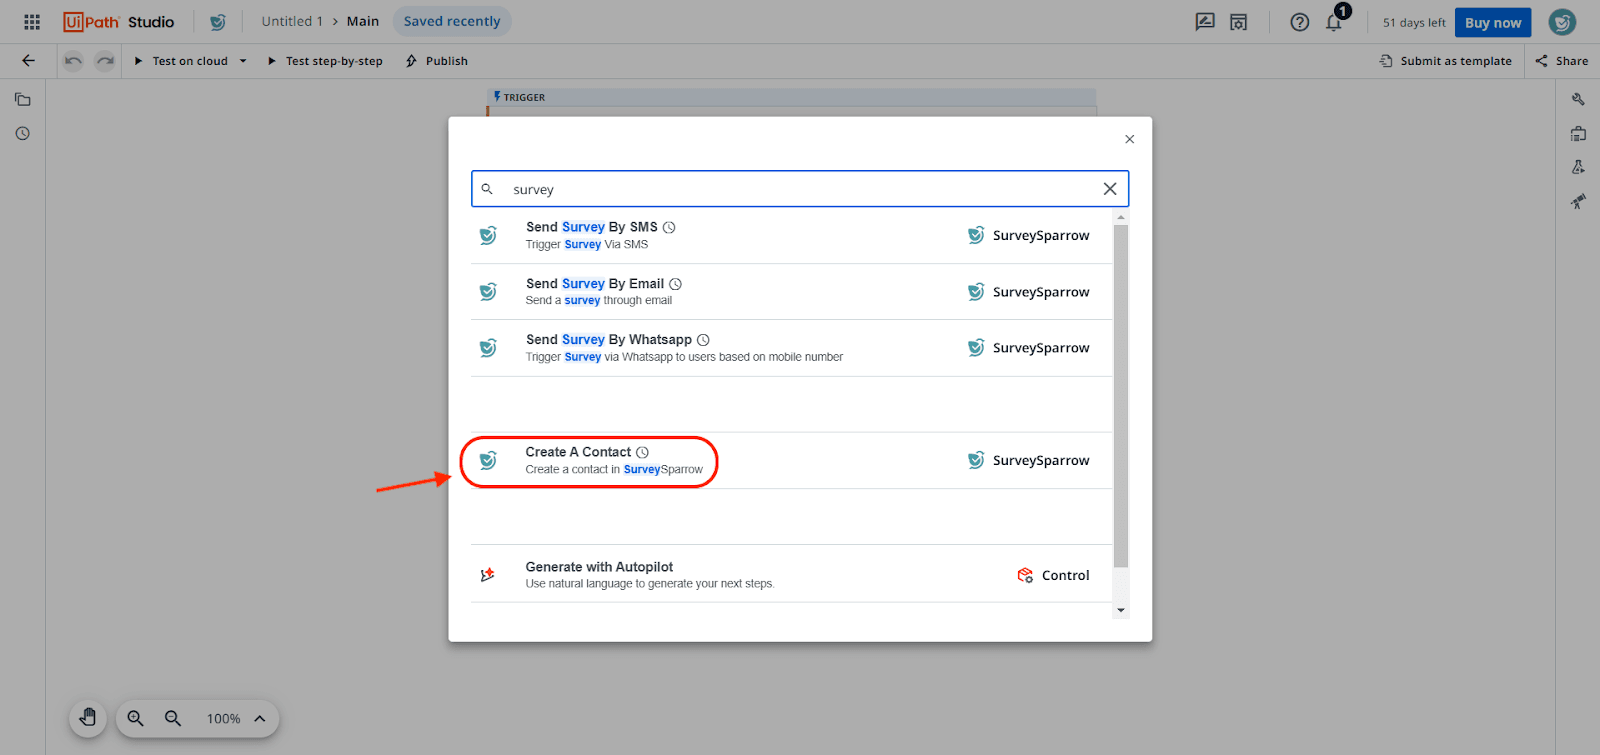
- You will have to select an activity to be performed in SurveySparrow. Search for the SurveySparrow connector.
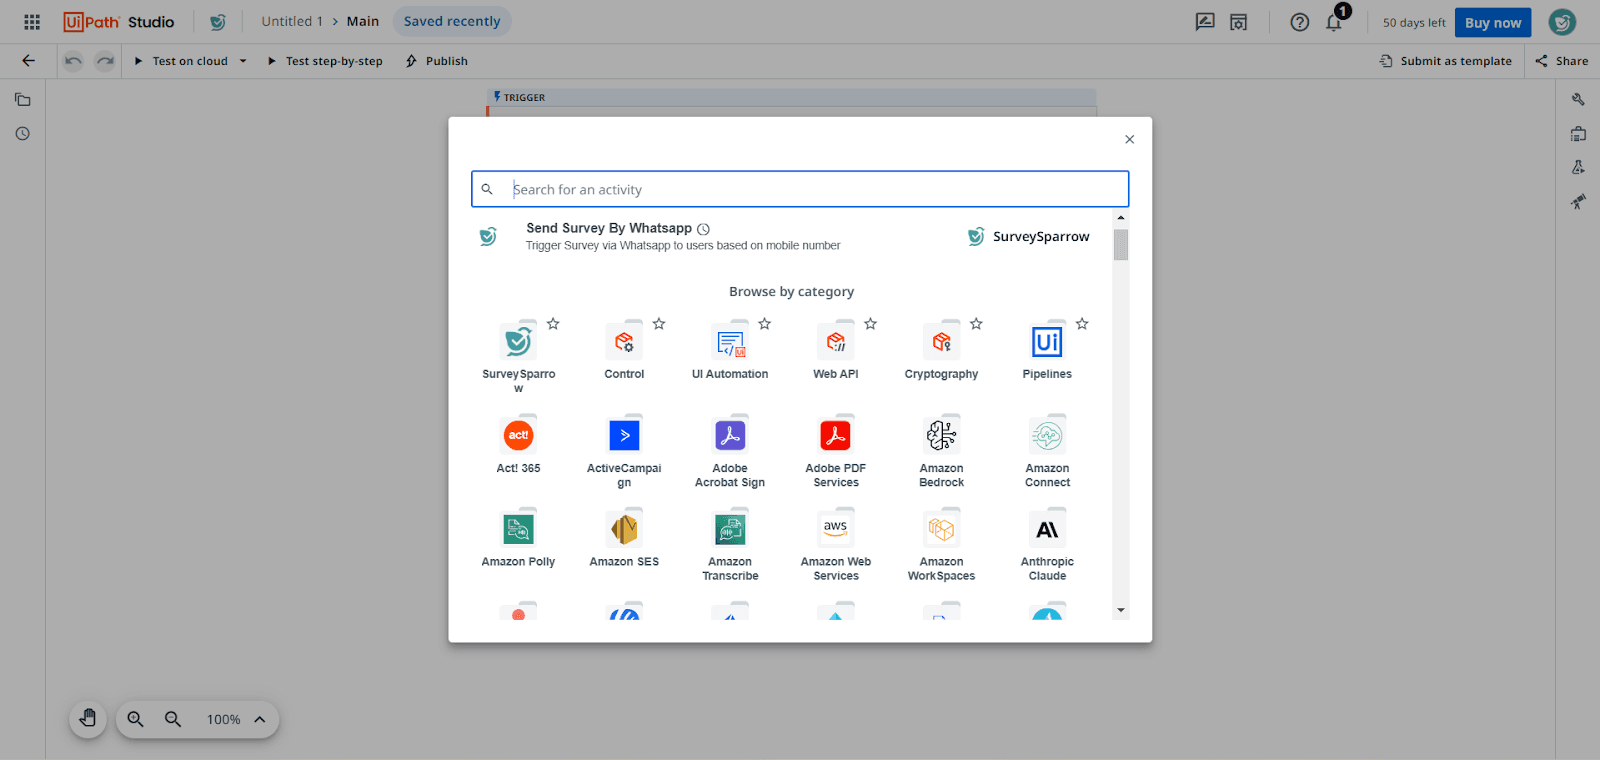
Note: An activity is an action that can be performed by a connector, in response to a trigger. Currently, the SurveySparrow app supports 4 activities: Create a contact, Send a survey by email, Send a survey by SMS, and Send a survey by WhatsApp. - Go through the list of activities for SurveySparrow and click on one. In this case, we will select the Create a contact activity.
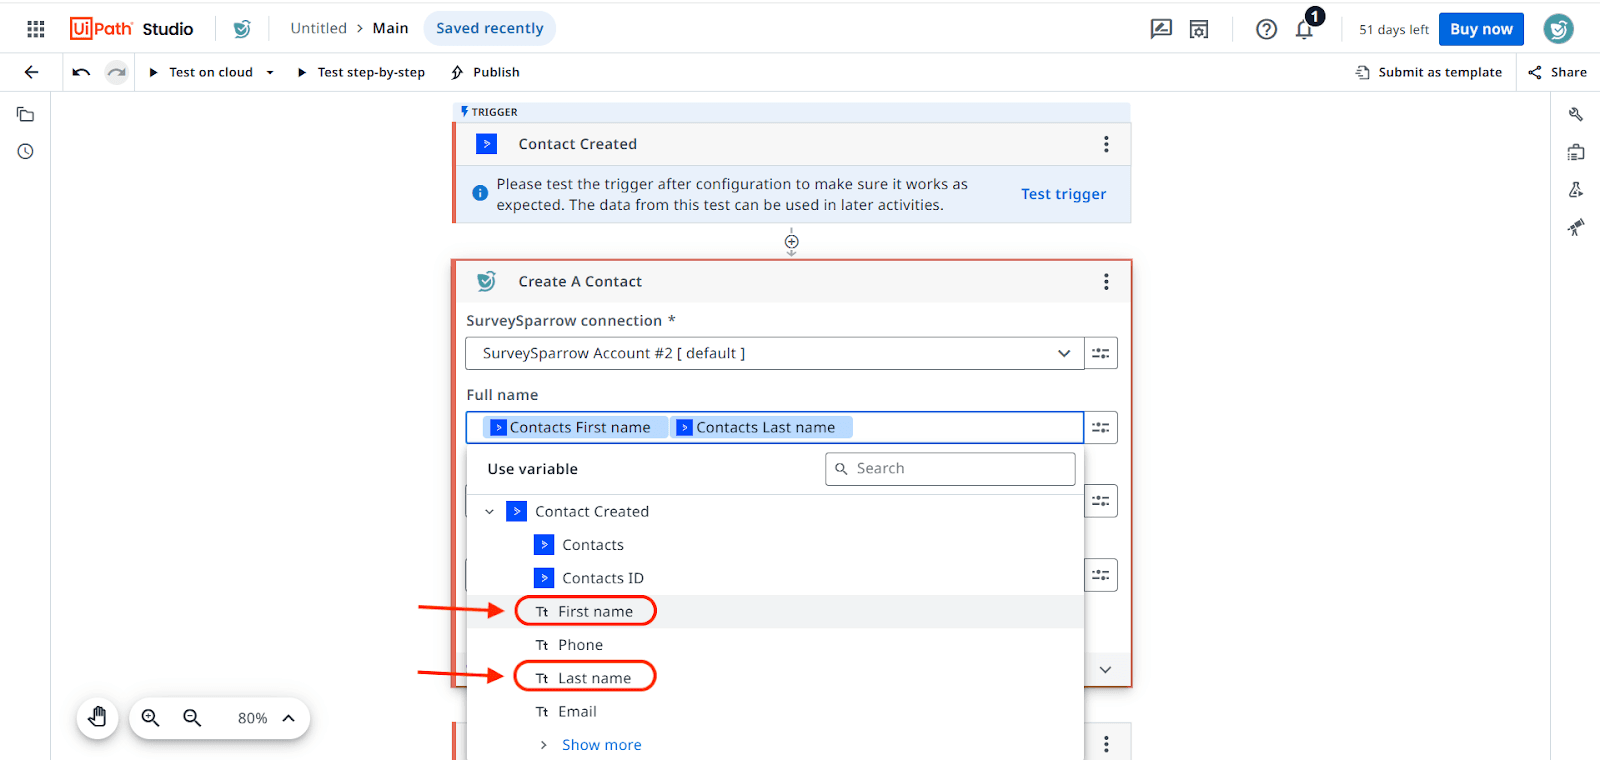
- The activity is ready. Click on each of the fields under SurveySparrow Connection to insert a variable for the corresponding data from the trigger. It is mandatory to complete the fields marked by a star.
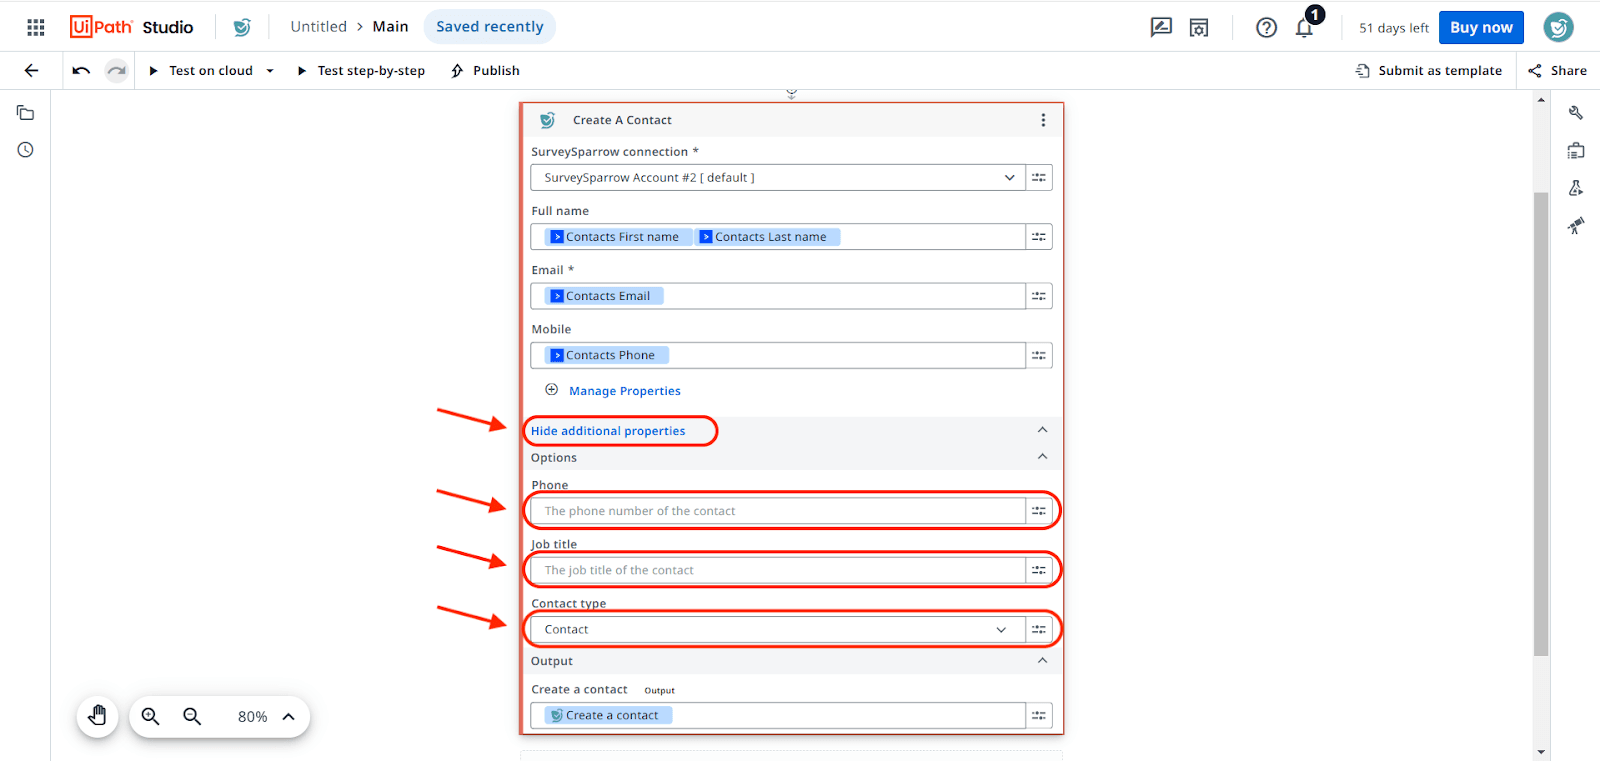
- If you would like to capture more data via the activity, click on Show Additional properties and complete the fields there.
Once you have finished setting up the activity, you can add additional activities by clicking on the plus button below it and repeating the steps outlined above.
Note: In UiPath, when multiple activities are combined in a single workflow, each activity is performed sequentially. So if an activity fails, the successive activities will also not perform. - If you choose to add any of the Send survey activities, you will be required to add the Survey ID and Channel ID. For example, let’s look at the Send survey by Email activity.
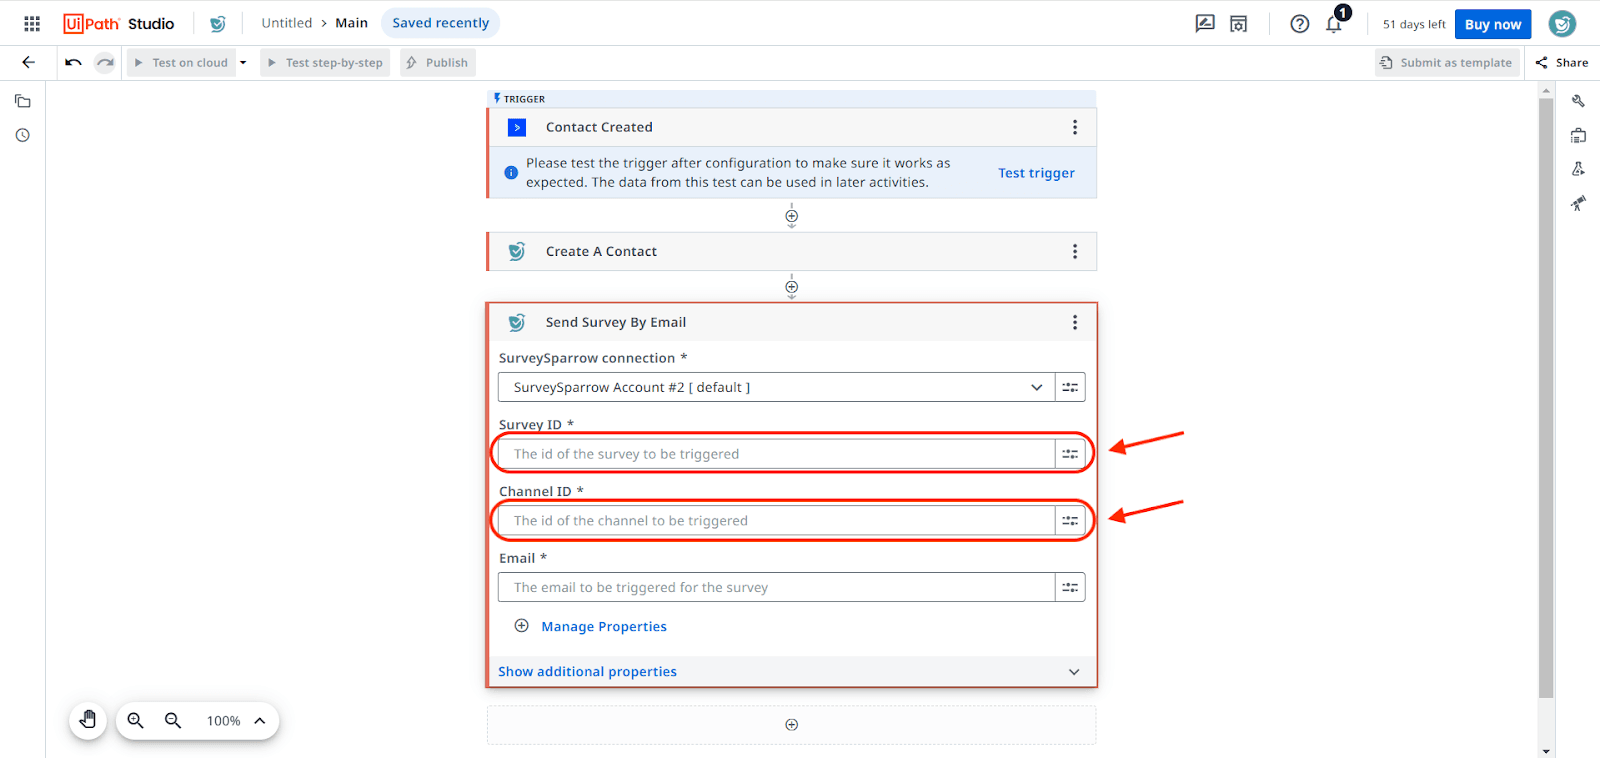
- To find the Survey and Channel ID, go to your SurveySparrow account. Open the survey that you want to send, then open the share channel that you want to use (in this case, email).
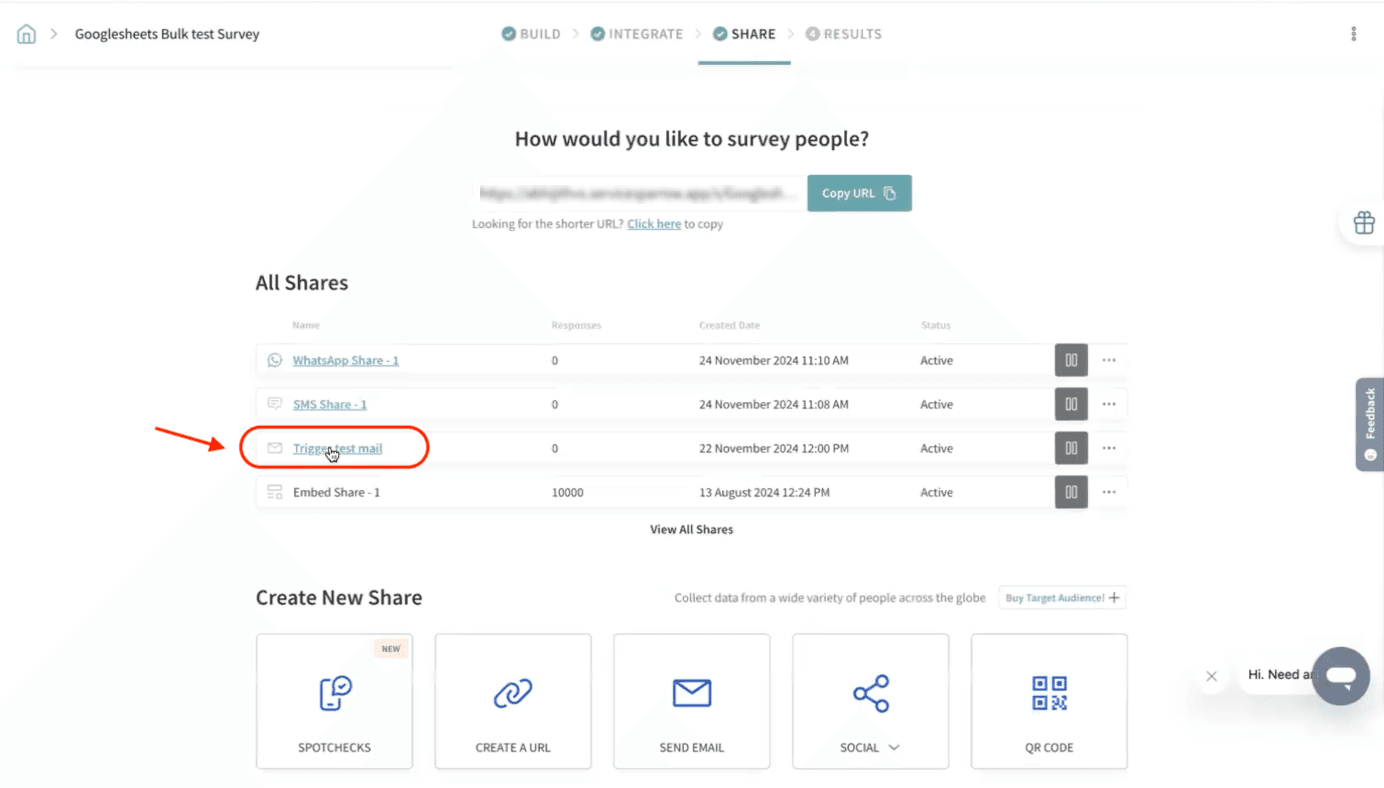
- Take a look at the URL. The Survey ID is the serial number appearing after /survey/ and the Channel ID is the number that appears after /channels/. Copy-paste both of these numbers into the corresponding activity fields in UiPath.

- When filling in the fields for the 2nd (or more) SurveySparrow activity, you can choose variables from the trigger or from SurveySparrow.

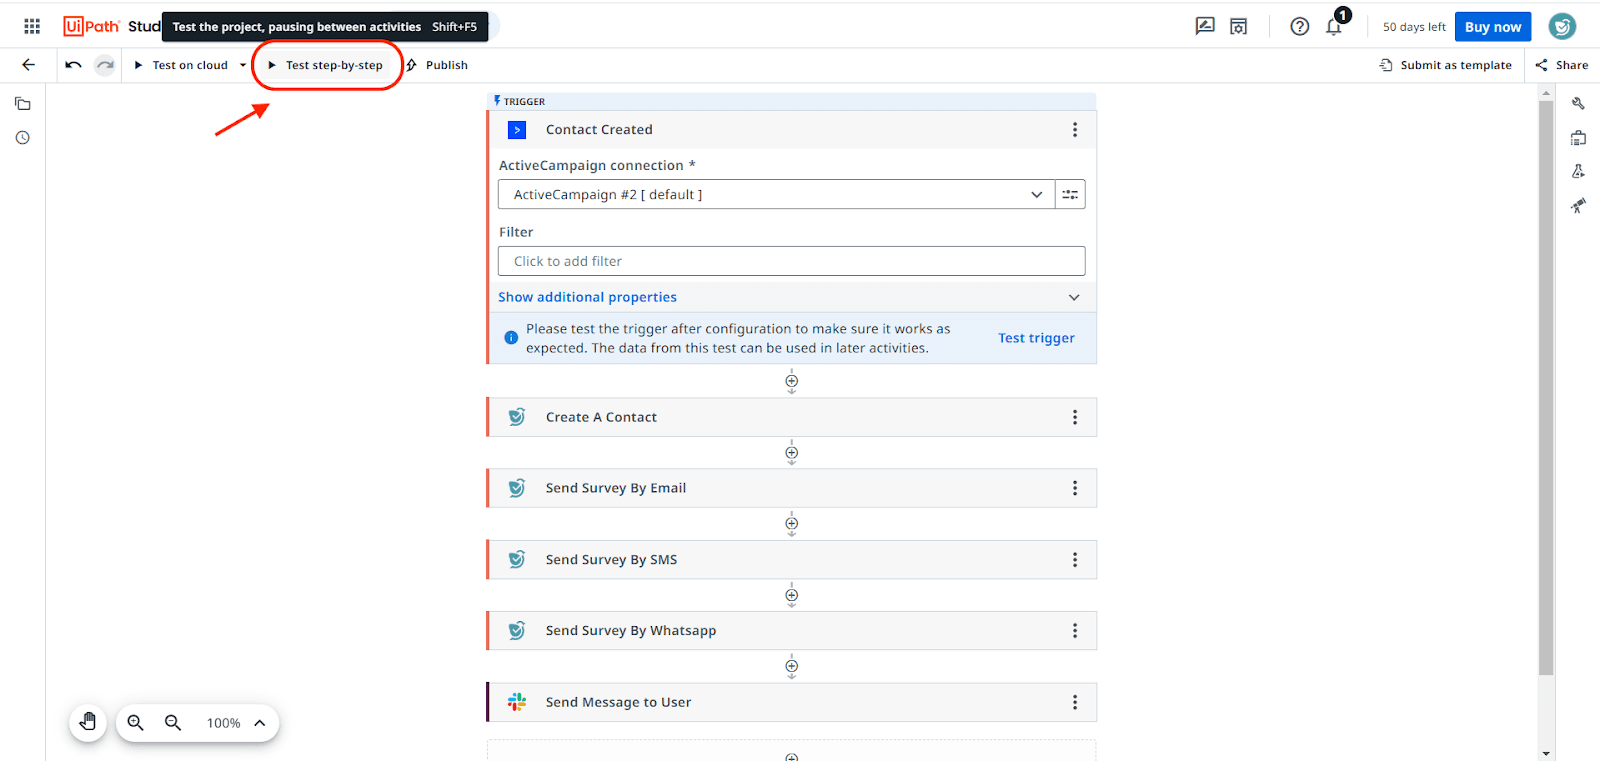
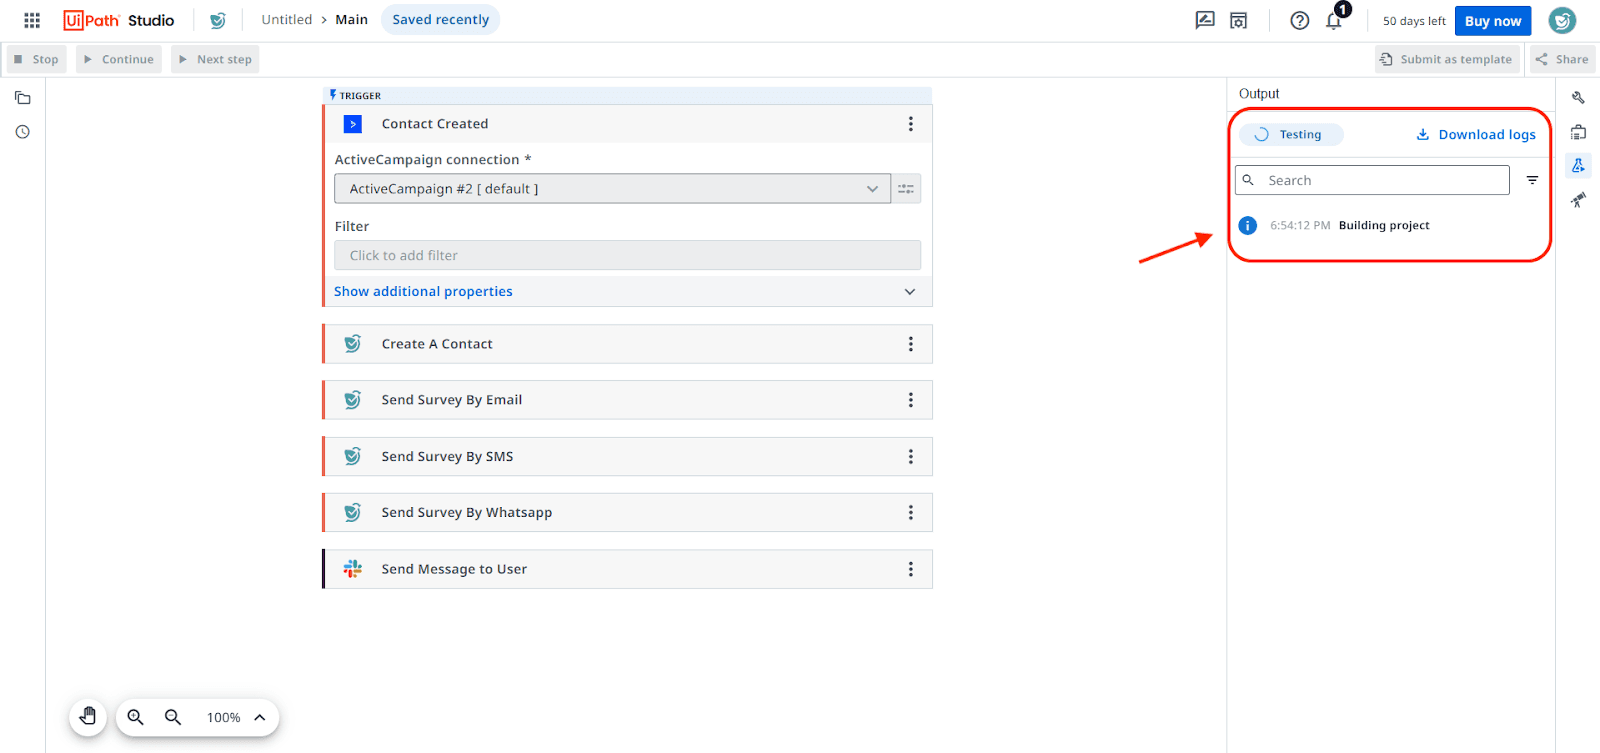
- Once you have built out the workflow, click on Test step-by-step to troubleshoot each activity.
- If the workflow runs error-free, click on Publish.
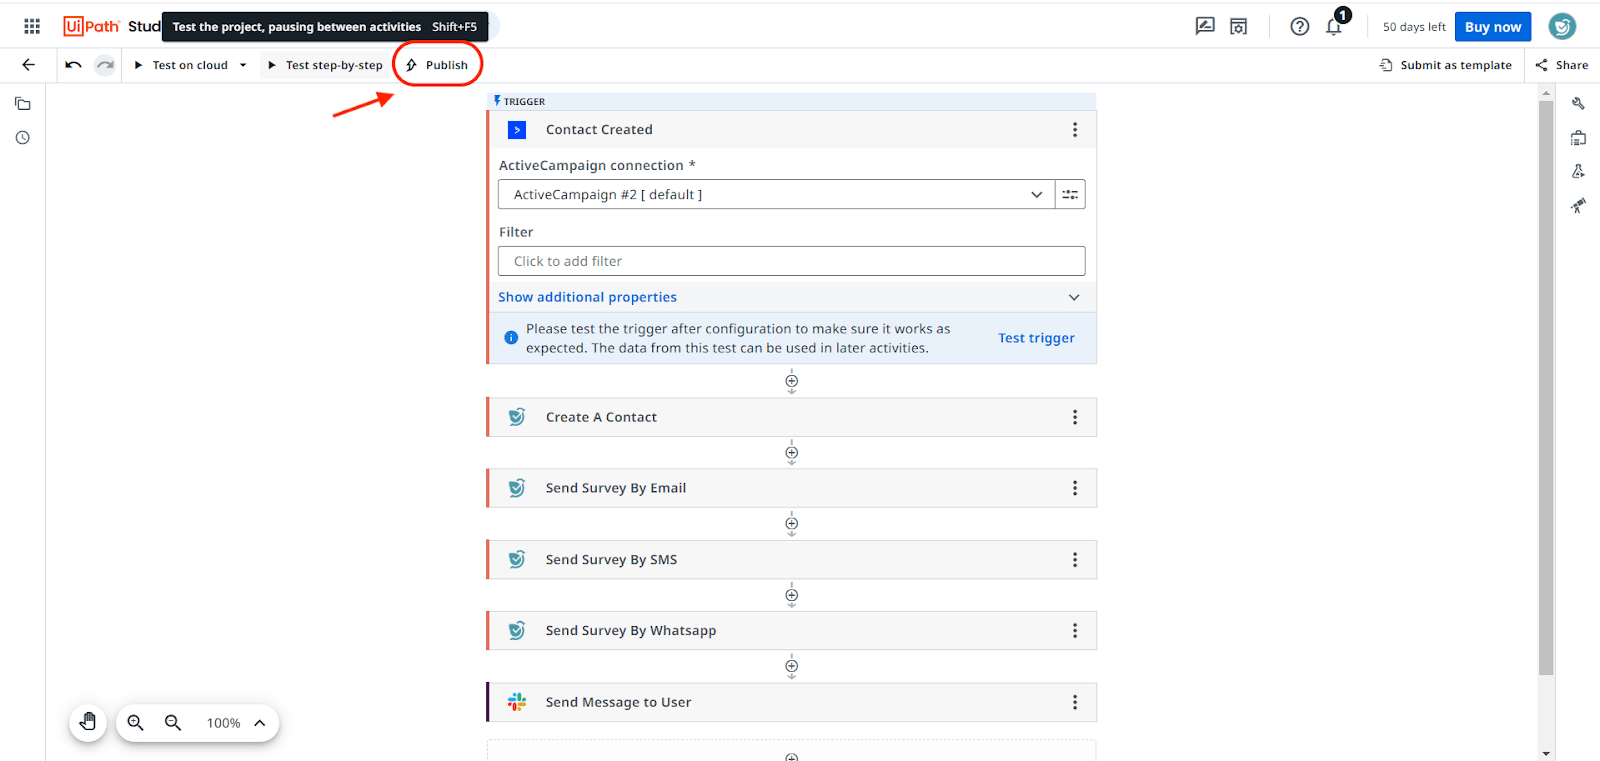
Just like that, your workflow is ready! Feel free to add more connectors and test out more potential workflows. UiPath can relieve you of time-consuming, yet essential tasks while accelerating your processes.
Feel free to reach out to our community, if you have any questions.